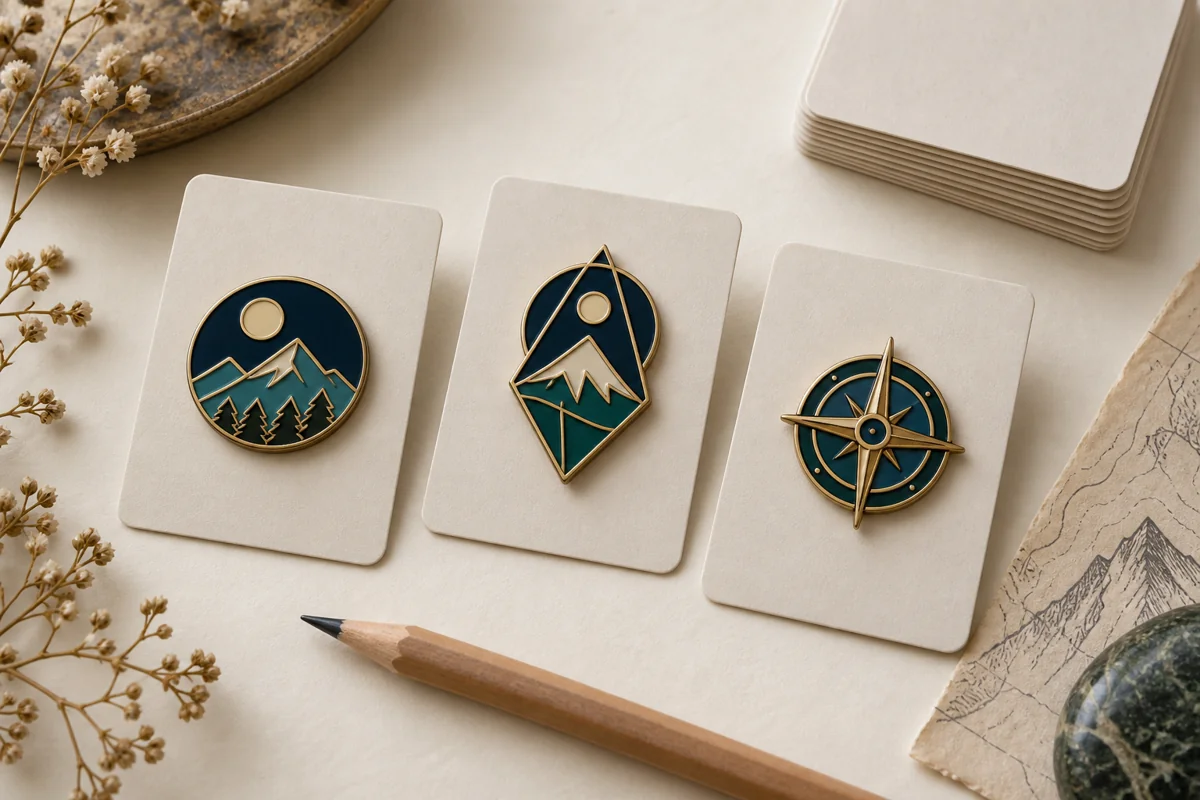




An enamel pin can look spacious at 400% zoom and crowded the moment it is shown at actual size. That is why choosing a size by eye on a monitor is unreliable. The right dimension is the one that preserves the important parts of the artwork, looks appropriate where the pin will be worn or displayed, and does not add unnecessary weight or cost.
This enamel pin size guide compares the most common dimensions from 0.75 to 2 inches, but the chart is only a starting point. A clean one-inch logo may work beautifully, while a one-inch mascot with a face, date and curved text may need to be simplified or enlarged. Artwork decides the final answer.
Quick answer: start around 1 inch (25 mm) for a simple logo or icon, 1.25 inches (32 mm) for a balanced retail or event pin, and 1.5 inches (38 mm) when a mascot, short wording or several design elements must remain clear. Reserve 2 inches (51 mm) for statement pieces, trading pins and artwork that genuinely uses the extra space. Treat these as comparison points, not production guarantees.
Common enamel pin sizes at a glance
| Nominal size | Approx. metric size | Often suits | What to check |
|---|---|---|---|
| 0.75 in | 19 mm | Minimal symbols, initials, small collar or hat pins | Tiny text, narrow color cells and whether the silhouette still reads |
| 1 in | 25 mm | Simple logos, single icons and understated lapel pins | Whether secondary details are truly necessary |
| 1.25 in | 32 mm | Brand merchandise, club pins and moderately detailed artwork | Balance between readability, presence and comfortable wear |
| 1.5 in | 38 mm | Mascots, short wording, event badges and collectible designs | Pin rotation, fabric stability and whether a second post is useful |
| 2 in | 51 mm | Trading pins, showcase pieces and multi-element compositions | Weight, backing layout, packaging and whether the design could be simplified |
The dimensions above are rounded for planning. One inch equals 25.4 mm, so a 1.25-inch pin is 31.75 mm and a 1.5-inch pin is 38.1 mm. A quote or artwork proof should state the final production dimension clearly.
First, understand how custom pin size is measured
Custom pin size is usually described by the longest dimension. A circular pin is straightforward because its width and height match. An irregular pin may not be. A design that is 1.25 inches wide and 0.8 inches tall is generally discussed as a 1.25-inch pin, while a tall design may be measured by height instead.
Do not rely on a label such as “medium.” Put both width and height on the artwork proof, especially for long wordmarks, tall characters, cut-out shapes or pins that need to fit a particular backing card. Ask how the supplier will use those dimensions in the quote.
A six-step way to choose the right size
1. Name the job before choosing the dimension
A formal recognition pin should sit differently from a souvenir sold at a merch table. A small corporate mark may need restraint; a trading pin needs enough presence to be noticed beside other designs. Decide whether the pin will be worn on a lapel, attached to a backpack, displayed on a board, sold on a card or traded at an event. The use case narrows the sensible size range before production details enter the conversation.
2. Mark the details that must survive
Identify the parts a recipient must understand without zooming in: a wordmark, a face, a date, a jersey number, a border or a distinctive silhouette. Then separate those essentials from decorative detail. If everything is marked essential, the design may need more space or a clearer hierarchy.
Enamel is divided into color areas by metal lines. It does not behave like ink on paper. Small lettering, tight gaps and complicated faces may lose clarity when the artwork is converted into metal and enamel. There is no single minimum that fits every design, process and plating choice, so exact tolerances should be confirmed on the production proof. The broader custom pin design guide explains how to prepare cleaner artwork before sizing it.
3. Print the artwork at 100% scale
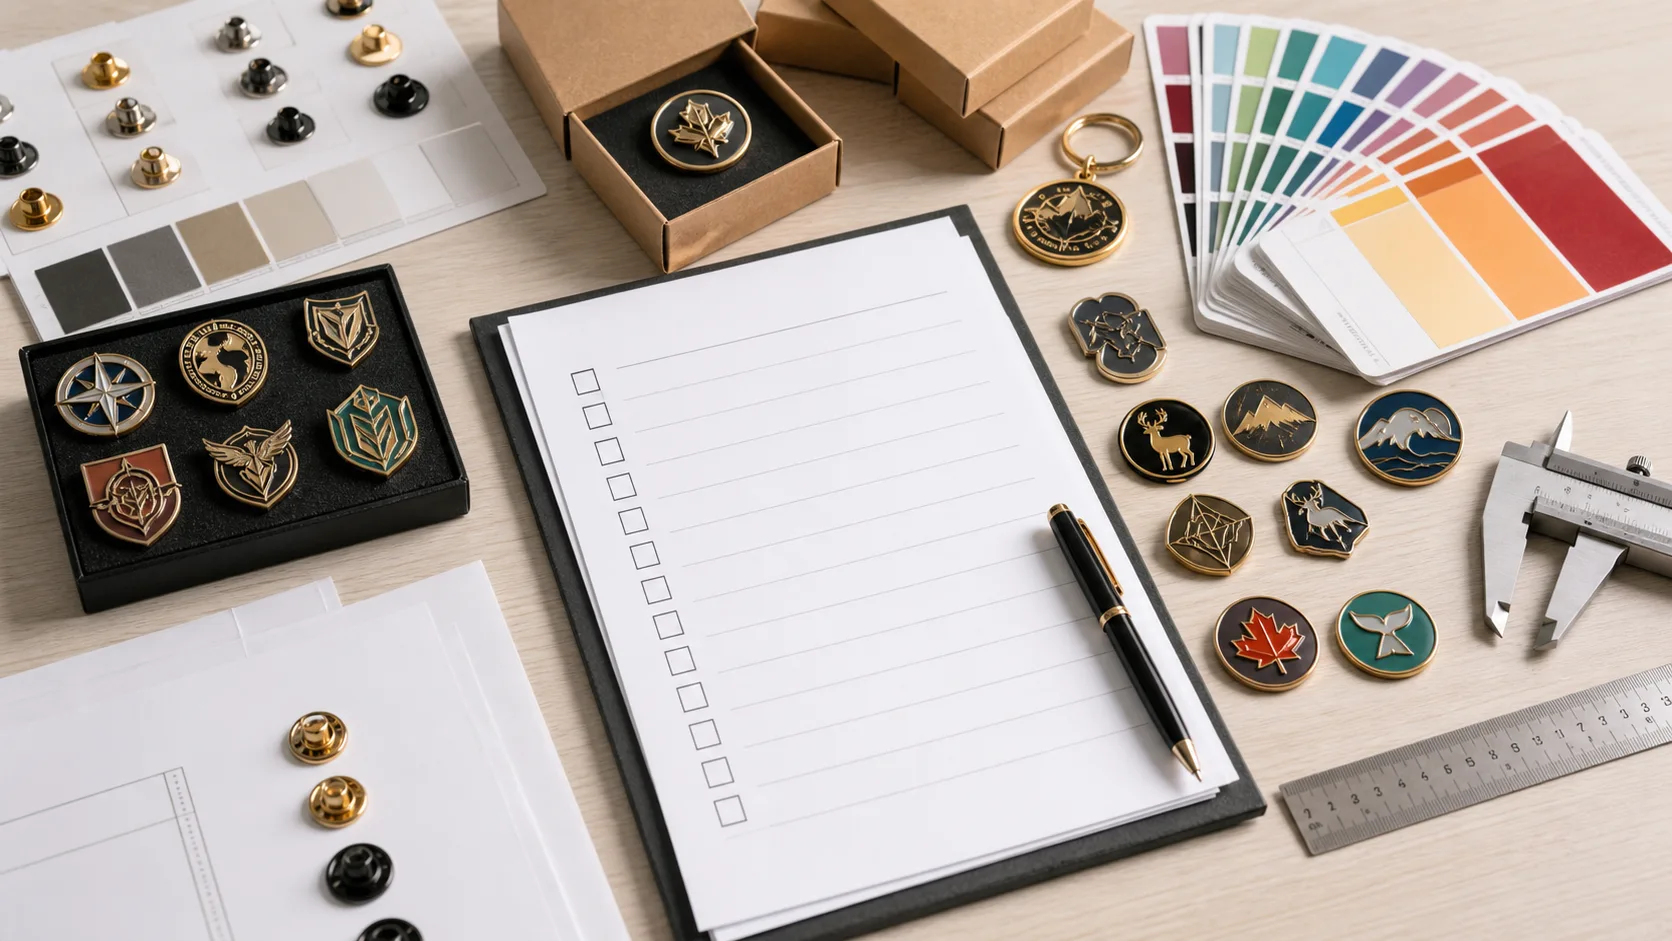
This is the most useful test because it removes monitor zoom from the decision. Place 0.75-, 1-, 1.25- and 1.5-inch versions on one page, print without “fit to page,” and cut them out. View each version from arm’s length. Put one on the intended garment, bag or backing card.
Ask three questions:
- What do I notice first?
- Can I read the necessary wording without bringing the paper close to my face?
- Does the design look confident, or does it look either cramped or unnecessarily large?
If the smallest version passes all three tests, enlarging it may not add value. If none passes, revise the composition before automatically moving to a much larger pin.
4. Check stability, not only appearance
Size, shape and weight affect how a pin sits on fabric. A wide or top-heavy design can rotate around one post. A second post can help keep the artwork level and can distribute the load, although the final choice depends on the pin’s shape, material and intended use. Test the post position on the proof rather than assuming the geometric center is always correct.
For a larger wearable pin, ask the supplier to show both post locations. For a narrow lapel pin, make sure the backing will not extend awkwardly beyond the garment. For retail merchandise, confirm that the posts fit the backing card layout without covering important copy.
5. Match the production method to the artwork
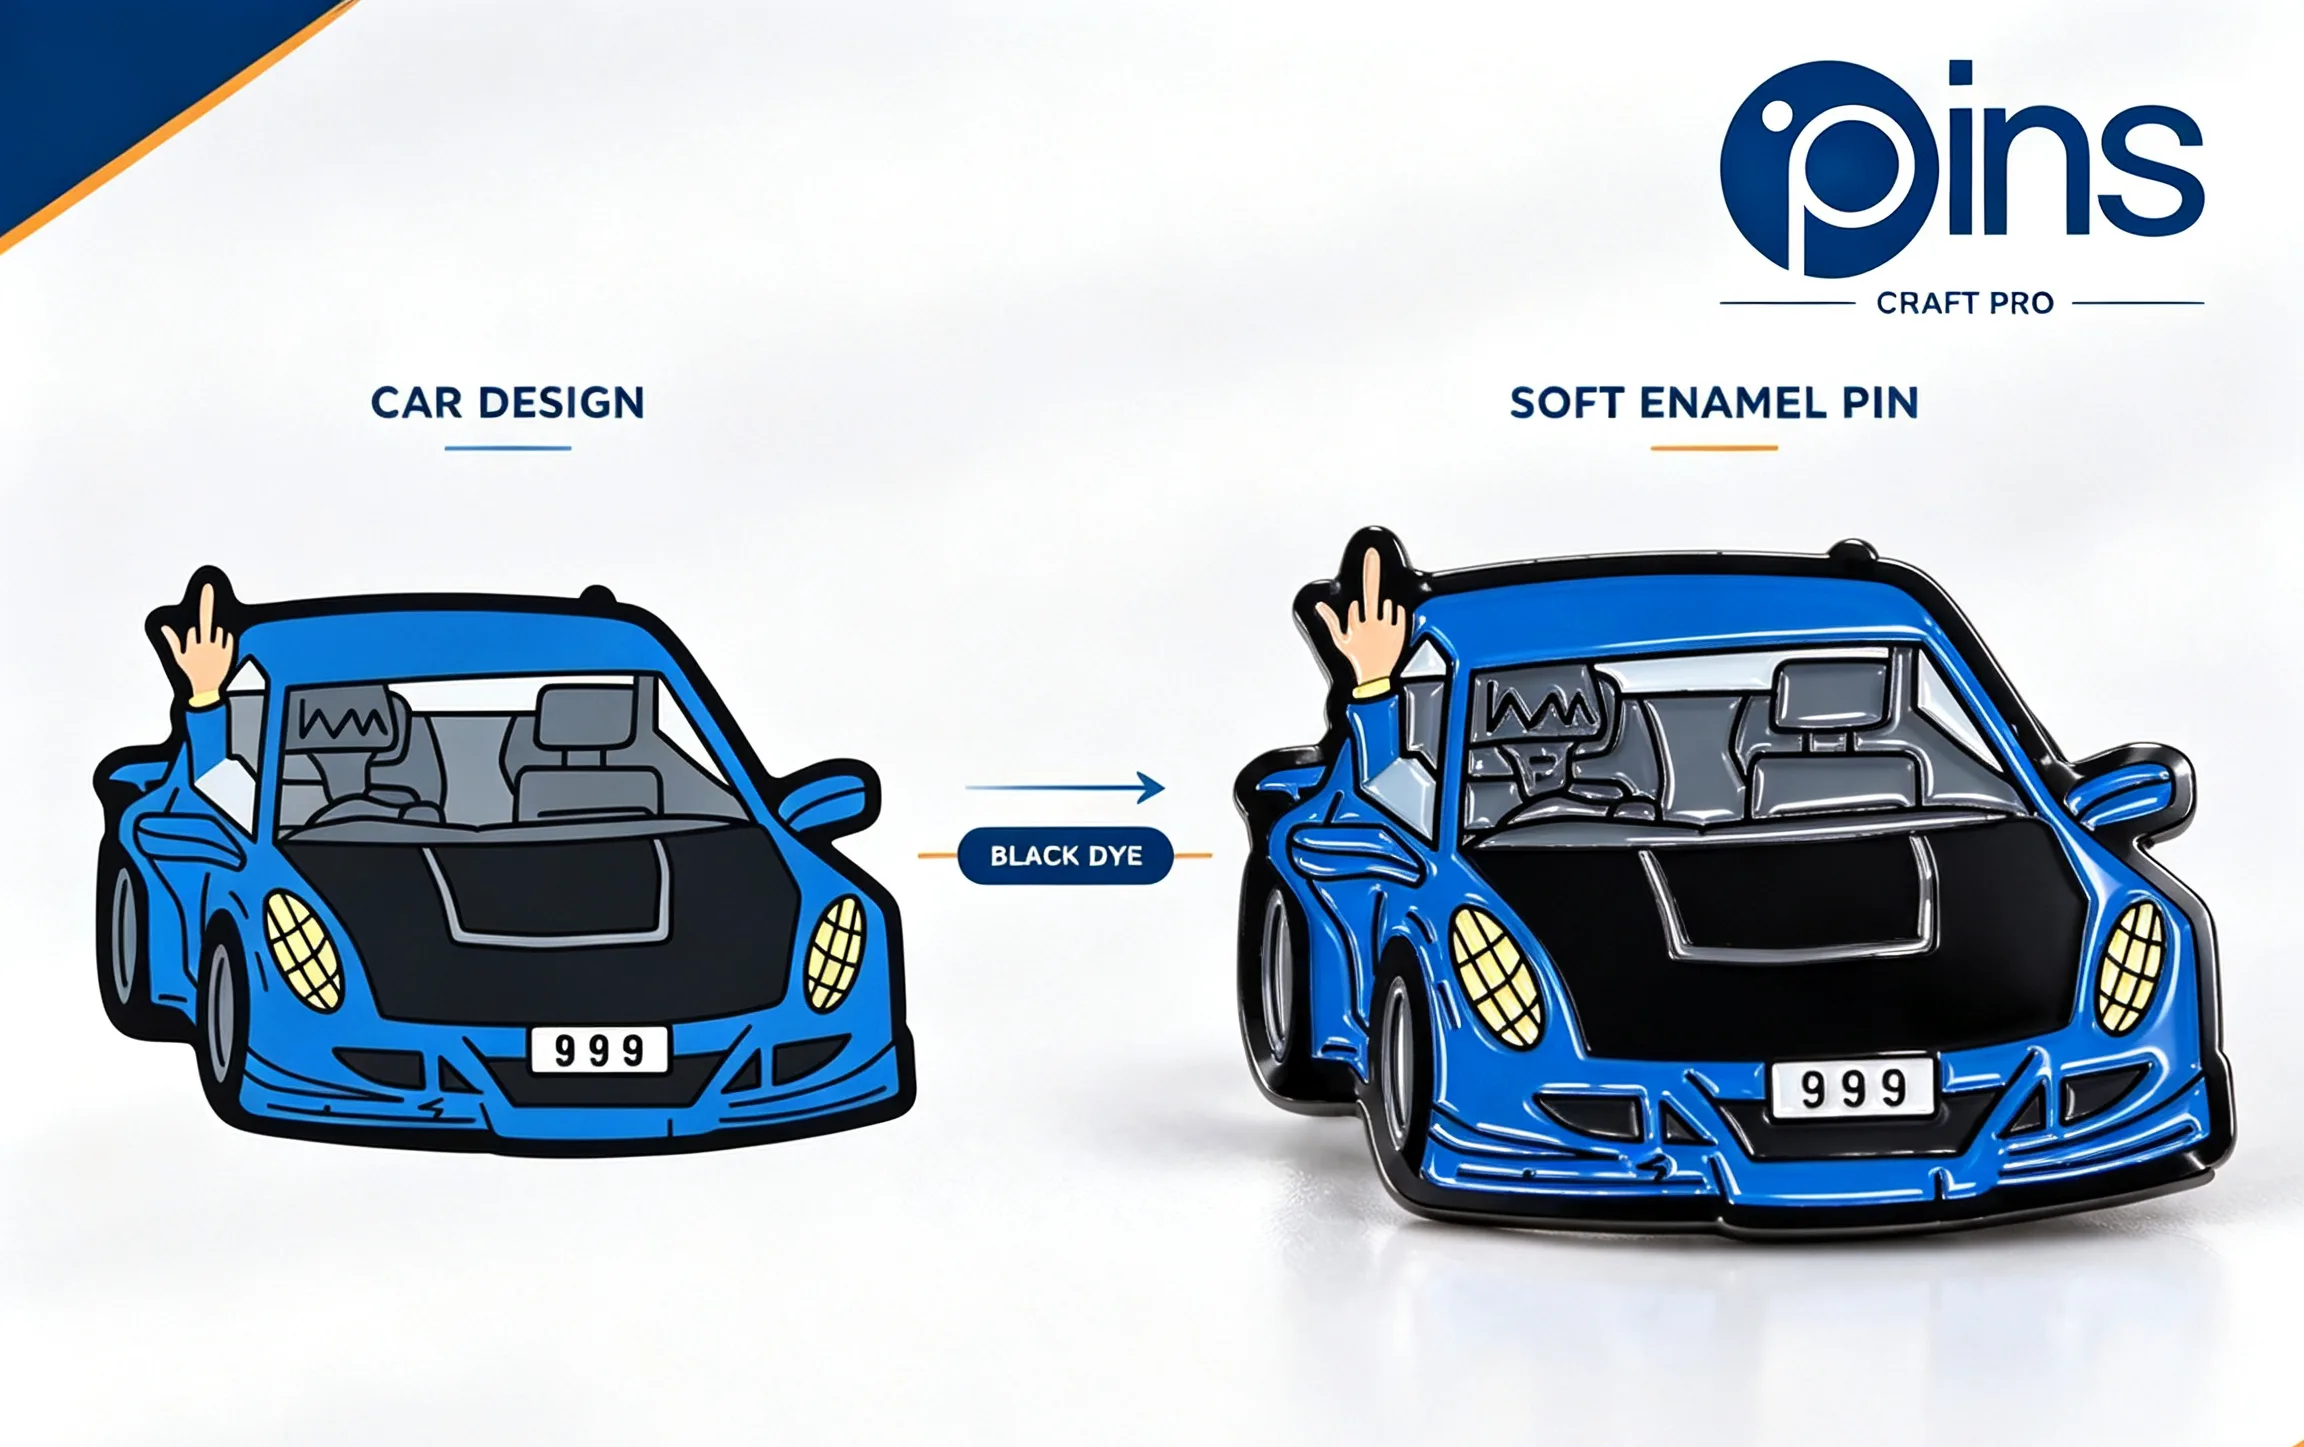
Making a pin larger is not the only way to preserve detail. Sometimes a production method is the real decision. Soft enamel pins use raised metal lines and recessed color areas, creating visible texture. Hard enamel pins are polished to a smoother surface. Printed pins may be a better fit for gradients, photographic detail or tiny color transitions that do not translate naturally into separate enamel cells.
If a small pin matters more than a traditional enamel construction, ask whether selected details should be printed. If the tactile metal-and-enamel look matters more, simplify the art or allow more room.
6. Compare two sizes on the artwork proof
Do not approve a pin solely from a full-screen mock-up. Ask for the dimensions on the proof and, when the choice is close, compare two versions using the same artwork and plating. A 1-inch and 1.25-inch rendering should be viewed at actual size, not enlarged to occupy the same space on screen.
Before approval, check spelling, dates, color references, metal lines, cut-outs, post locations and overall dimensions. A good proof is a set of production instructions, not just a sales image.
How big should a lapel pin be for different uses?
The following ranges are practical starting points. They are not limits, and the artwork still needs to pass an actual-size review.
Corporate logo or recognition pin: about 0.75 to 1 inch
A simple logo, monogram or service symbol can feel intentional at a smaller size and sit comfortably on a jacket. If the mark includes a tagline, anniversary dates or several colors, first ask whether all of that information belongs on the pin.
Creator merch, clubs and event pins: about 1 to 1.5 inches
This range gives a logo, character or compact piece of wording more room while remaining practical for bags, denim and display cards. A 1.25-inch pin often works as a useful comparison point because it creates more visual presence than one inch without jumping directly to a statement size.
Mascots and illustrated designs: about 1.25 to 1.75 inches
Faces, uniforms, props and curved text compete for space. Enlarge only after deciding which details communicate the character. A larger silhouette with a clear face is usually more successful than a crowded composition filled with miniature lines.
Trading and showcase pins: about 1.5 to 2 inches or more
Trading pins are often expected to stand out, and event artwork may include a team name, number, location or year. The extra area can be useful, but it also changes weight, post layout and packaging. Review the finished footprint on a display card or lanyard rather than treating size as a prestige upgrade.
One inch versus 1.5 inches: what actually changes?
A 1.5-inch pin is not merely “half an inch bigger.” If the artwork keeps the same proportions, its area increases substantially, so small elements have more room and the finished piece has more presence. That can improve a mascot or multi-part design, but it can also make a simple logo feel oversized.
Choose one inch when the silhouette is strong, the wording is minimal and quiet wearability matters. Consider 1.5 inches when important details fail the printed test, the pin is intended as collectible merchandise, or the design needs to compete visually in an event setting. If the one-inch version is unclear, also compare a simplified one-inch version against the unchanged 1.5-inch version. The better design is not automatically the larger one.
How size affects budget, packaging and perceived value
A larger pin generally uses more material and can affect tooling, enamel area, backings and packaging. It may also require a larger backing card or a second clutch. However, size is only one quote factor. Quantity, production method, color count, plating, cut-outs, attachments, packaging and deadline also matter. The custom pin cost guide explains how those choices work together.
Perceived value does not rise automatically with diameter. A small, crisp pin with deliberate packaging can feel more considered than a large pin with unresolved artwork. Spend on scale when the design or use case benefits from it, not because a larger number sounds more premium.
Five common sizing mistakes
- Judging from a zoomed-in screen. A full-screen proof hides the real viewing distance. Print it at 100%.
- Measuring the wrong side. Confirm both width and height and identify the longest dimension used for the quote.
- Keeping every line from the original illustration. A pin is a new medium, not a miniature paper print. Simplification is part of the design work.
- Changing size after proof approval without reviewing the construction. Smaller enamel cells, text and gaps must be checked again whenever dimensions change.
- Ignoring the back of the pin. Post position, clutch size, rotation and backing-card holes affect the finished experience.
What to send for a useful size recommendation
A supplier can give better advice when the request includes context instead of only asking, “What is the standard size?” Send:
- The highest-quality artwork available, preferably vector artwork when possible
- The intended use: lapel, hat, bag, retail card, trading or display
- One or two target sizes you want compared
- The details that must remain readable
- Preferred finish, plating and backing if known
- Quantity, delivery destination and required date
You can also review finished proportions in the pin gallery and compare them with the main épingles personnalisées options before requesting a proof.
Enamel pin size FAQ
What is the most common enamel pin size?
There is no universal standard, but one to 1.5 inches covers many logo, event and merchandise designs. One inch suits simple artwork; 1.25 inches is a useful middle option; and 1.5 inches gives a mascot or short wording more room. The artwork and intended use matter more than popularity.
Is a 0.75-inch pin too small?
Not for a strong symbol, initial or minimal mark. It becomes risky when the design depends on tiny text, facial detail, narrow gaps or many separate colors. Print the artwork at roughly 19 mm and judge what remains visible.
Will a larger enamel pin always look better?
No. A larger pin can rescue necessary detail, but it can also feel heavy or make a simple design look empty. Clarity and proportion are better goals than maximum size.
Does a 1.5-inch pin need two posts?
Not automatically. Shape, weight and post position all matter. Wide, long or top-heavy designs are more likely to benefit from two posts, so ask for the proposed post layout on the artwork proof.
Can tiny text be kept by making the pin bigger?
Sometimes, but first decide whether the text is necessary. If it is essential, compare a larger version, a simplified type treatment and an appropriate printing method. Exact feasibility should be confirmed during production review.
How are irregular-shaped pins measured?
They are commonly discussed by the longest dimension, but both width and height should appear on the proof. Confirm how the supplier measures the piece before comparing quotes.
Choose with the artwork in front of you
A useful pin size is not a number selected from a menu. It is the result of looking at the real artwork, the real viewing distance and the real place the pin will live. Start with a reasonable range, print it at actual size, simplify what does not survive, and approve the post layout along with the front design.
For an artwork-specific recommendation, request a free pin quote and artwork proof. Include two target dimensions and explain where the finished pin will be worn, sold or displayed so the comparison is based on use rather than guesswork.