




Custom Pin Production Timeline: 6 Key Stages
Índice
¡ASOMBROSO! COMPARTIR A
A launch date does not automatically become a production date. Before a factory can manufacture pins personalizados, the buyer must settle the design, dimensions, enamel process, plating, backing, packaging, quantity, and delivery destination. Every unresolved decision sits on the critical path.
A useful custom pin production timeline therefore separates three kinds of time: buyer decision time, manufacturing time, and logistics time. Treating them as one vague “turnaround” number creates avoidable surprises, especially for trade shows, tournaments, employee programs, retail drops, and multi-location campaigns.
This guide shows procurement and marketing teams how to build a realistic schedule, where to place buffers, and which choices can shorten or extend the project. The ranges below are planning examples, not a promise for a specific order; actual timing depends on the approved specification, quantity, production method, destination, and factory capacity.
Custom pin production timeline at a glance
| Stage | Typical planning allowance | Main dependency |
|---|---|---|
| Requirements and quotation | 1–3 business days | Complete artwork, quantity, size, finish, backing, packaging, and destination |
| Artwork proof and buyer approval | 2–5 business days | Number of revision cycles and stakeholder response time |
| Tooling or pre-production sample | 5–10 business days when required | Design complexity, sample method, and approval route |
| Bulk manufacturing | 10–20 business days for many standard projects | Quantity, process, special effects, and production load |
| Quality control and packing | 2–5 business days | Inspection plan, sorting, backing cards, and individual packaging |
| International transit | Often 3–7 business days by express; longer for economy methods | Destination, service level, customs, holidays, and last-mile delivery |
Some stages overlap and some orders move faster. Others need more time because a buyer requests a physical sample, custom packaging, several shipping destinations, or multiple rounds of approval. Ask for a schedule tied to your final specification rather than applying a generic range to every product.
Stage 1: Turn the idea into a quote-ready specification
The fastest projects begin with complete inputs. A logo and a quantity are enough to start a conversation, but not enough to lock a schedule or landed cost. Before requesting a firm quote, define the following:
- Finished size and shape
- Soft enamel, hard enamel, die struck, 3D, or printed construction
- Plating and any antique or dual-finish requirement
- Number of colors and specialty effects
- Backing style and number of posts
- Backing card, poly bag, box, or retail packaging
- Order quantity and any design split
- Delivery address, required arrival date, and event date
Place these details in a custom pins specification sheet. It gives sales, artwork, production, quality, and logistics teams one source of truth. It also exposes decisions that would otherwise surface after the quote, when changes are more disruptive.
Tell the supplier both the in-hand date and the date the pins will actually be used. If a conference begins on October 15, an October 14 arrival is too risky. The operational in-hand target may need to be October 8 so the buyer can count, kit, or redistribute the goods.
Stage 2: Control artwork proofing and approval time
Production normally begins after the artwork proof and commercial details are approved. If five stakeholders reply separately across a week, the manufacturing timeline has not started; the approval timeline is still running.
Assign one decision owner before the first proof arrives. That person should combine design, brand, legal, sponsor, and purchasing comments into one numbered response. Avoid broad instructions such as “make the logo pop.” State the exact requested change: increase the outer metal border, replace the blue reference, move the post, or enlarge a line that is too thin for production.
Use a formal artwork proof review to check dimensions, metal lines, color labels, plating, backing, post position, spelling, front and back artwork, and packaging notes. A ten-minute structured review can prevent a full revision cycle.
Set an internal approval deadline
If the factory sends a proof on Monday, decide in advance whether your team will respond by Tuesday or Friday. Put the deadline on the project calendar and make clear who can issue final approval. This is often the simplest way to protect the delivery date without changing manufacturing.
Stage 3: Decide whether the project needs a physical sample
A digital production proof is sufficient for many established designs and standard processes. A physical pre-production sample adds time and cost, but it can be justified when the project includes unfamiliar materials, exact color coordination, complex moving parts, premium retail packaging, a high-value launch, or a large quantity that would be expensive to remake.
Build two approval points into the schedule if a sample is required: the time to manufacture and ship the sample, and the time for the buyer to inspect and respond. Photograph-based approval may be quicker, but it cannot fully communicate weight, surface texture, attachment tension, or subtle finish differences.
Do not add a sample automatically to every reorder. If the artwork, dimensions, plating, colors, backing, and packaging are unchanged—and the supplier can reference the approved production file—a repeat order may be able to use the retained specification. Confirm this before issuing the purchase order.
Stage 4: Bulk manufacturing and in-process control
Once the proof is approved, the project moves through tooling or die preparation, metal forming, polishing, plating, color filling or printing, curing, attachment assembly, and inspection. The exact route depends on the product.
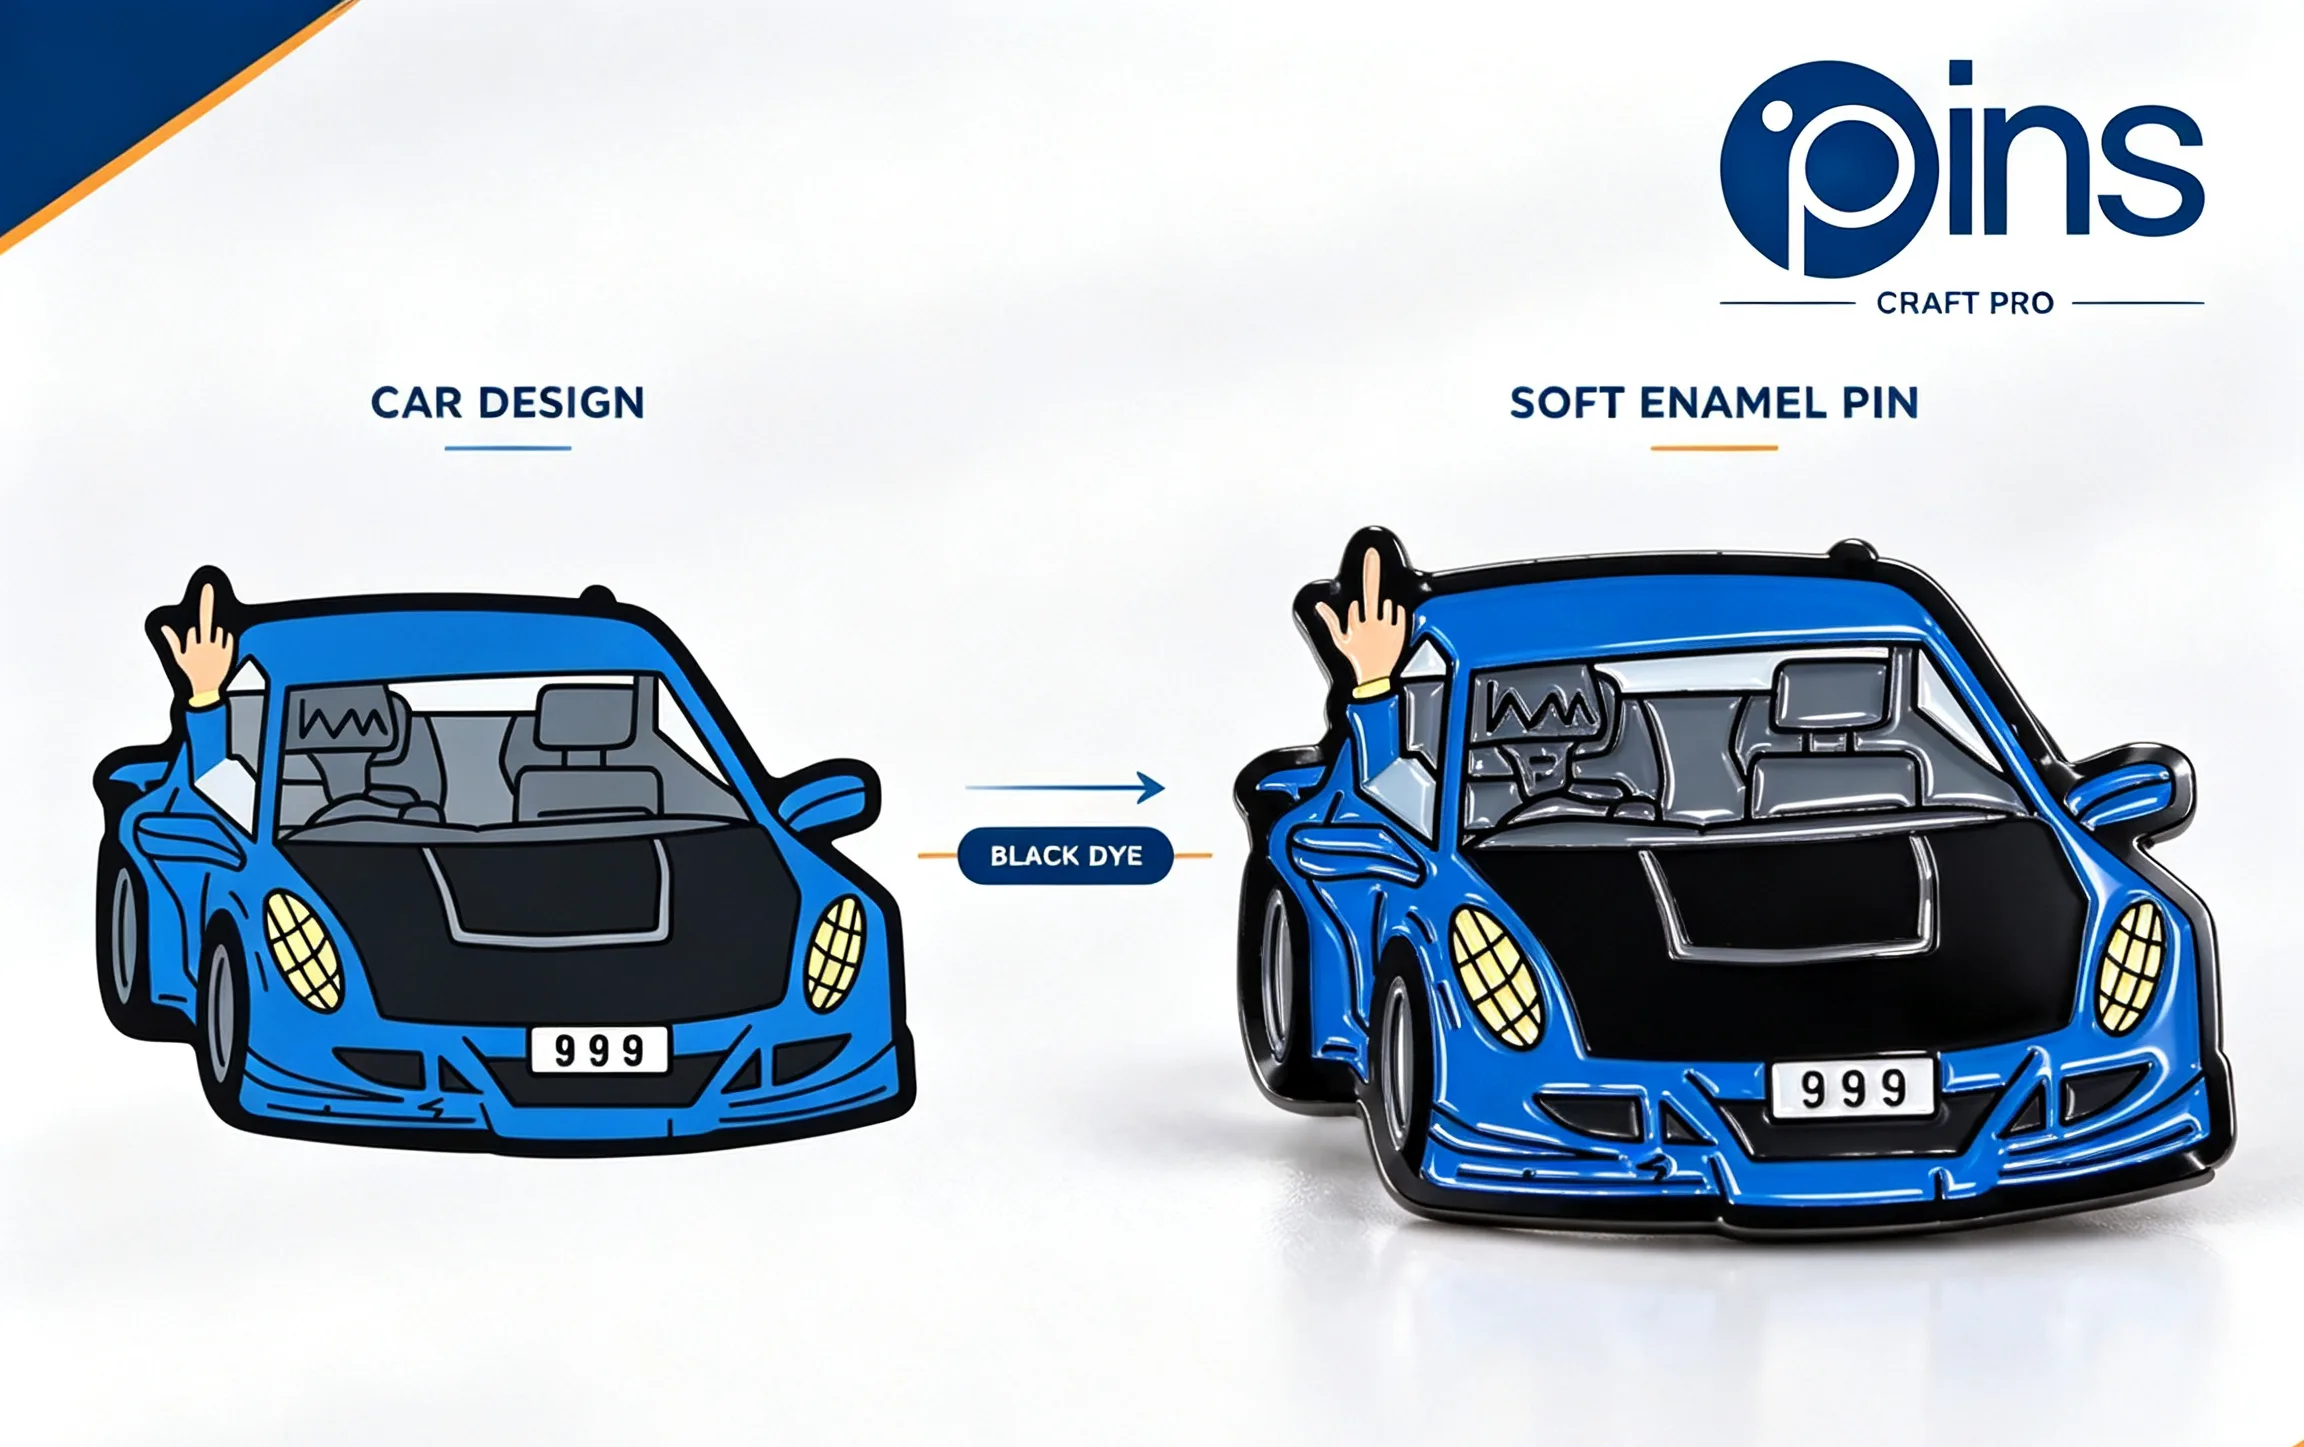
For example, recessed color areas are part of the character of insignias de esmalte blando, while pins de esmalte duro require filling and polishing to create a smoother surface. Printed details introduce a different artwork and curing workflow. Specialty effects, multiple platings, cutouts, moving elements, or unusual attachments can add handling steps.
Quantity is not the only scheduling variable. One thousand identical pins may be simpler than five hundred pins divided among ten designs, each with separate proofs and color maps. When requesting a schedule, state the number of unique designs and the quantity per design.
A responsible plan reserves time for quality checks. The manufacturing and quality-control checklist explains the buyer-side questions to ask about appearance, dimensions, attachments, quantity, packaging, and final inspection.
Stage 5: Packaging is part of production, not an afterthought
Attaching pins to custom cards, placing them in individual bags, applying barcodes, building presentation boxes, or sorting designs into event kits all require materials and labor. Packaging artwork can also create a second proofing cycle with its own print lead time.
Decide early whether the pins will be handed out, mailed, displayed at retail, or packed into employee welcome kits. The custom pins packaging guide compares requirements for retail, events, corporate gifts, and repeat programs.
If another fulfillment partner will assemble the final kit, confirm how that partner wants to receive the pins: loose in bulk, individually bagged, mounted to cards, labeled by design, or packed in a specific carton quantity. A clear packing instruction prevents the buyer from paying twice for handling.
Stage 6: Separate factory completion from delivery
“Production complete” means the goods are ready to leave the factory. It does not mean they have cleared export handling, international transport, customs, local delivery, and internal receiving.
Choose the shipping method based on the required in-hand date, shipment size, budget, and risk tolerance. Express shipping can be appropriate for samples and time-sensitive cartons. Economy air or consolidated services may reduce cost but need more schedule room. Larger programs may justify a split shipment: a smaller express quantity for the launch and the balance by a slower method. Ask for the cost and operational implications before choosing that approach.
Customs delays are not fully controllable, so avoid planning around a best-case transit estimate. Confirm consignee contact details, delivery restrictions, tax or duty arrangements, and whether the destination can receive parcels on weekends or holidays.
Variables that commonly extend the lead time
- Incomplete artwork: low-resolution images or missing fonts require reconstruction and approval.
- Slow stakeholder feedback: each scattered revision restarts part of the proofing cycle.
- Design splits: multiple colorways or names create separate production and sorting requirements.
- Special materials: glitter, translucent enamel, glow pigments, dual plating, or custom attachments may need extra setup.
- Physical samples: useful for risk reduction, but they add manufacture, transit, and review time.
- Custom packaging: printed cards and boxes can have a separate supplier timeline.
- Peak periods and holidays: factory closures, major promotional seasons, and carrier congestion affect capacity.
- Address changes: rerouting after documents or cartons are prepared can delay dispatch.
Plan backward from the real in-hand date
Begin with the date your organization must physically receive the goods. Then work backward through internal handling, transit, packing and inspection, bulk manufacturing, sample approval if needed, and artwork approval.
For example, suppose an event is eight weeks away. The buyer reserves one week for receiving and kitting, one week for international transit and contingency, three weeks for production and quality control, one week for proofing, and one week for requirements and purchase approval. The remaining week becomes management buffer rather than unused time.
This backward plan also reveals the true decision deadline. If the team misses artwork approval by four business days, it must deliberately recover those days through a simpler specification, faster internal review, a different shipping method, or a later in-hand date. Quietly assuming the factory will absorb every delay is not a schedule.
What to do when the deadline is already tight
- State the exact in-hand date and destination. Ask whether the current specification is feasible.
- Freeze the essentials. Limit decision-makers and avoid optional colorways or packaging variants.
- Use production-ready artwork. Provide clean vector files, named colors, and complete text.
- Consider a standard construction. A proven enamel process, standard plating, and standard backing may be easier to schedule than several special effects.
- Separate launch quantity from total quantity. If operationally sensible, price a split shipment rather than rushing every carton.
- Approve in writing and quickly. Keep a record of exactly which proof and specification were authorized.
A “rush” request should never mean skipping proof review or basic quality control. The safer objective is to remove waiting, ambiguity, and avoidable complexity.
Make reorders faster with an order archive
After delivery, save the approved artwork, specification sheet, proof, purchase order, color references, packaging file, supplier order number, and photos of the accepted batch. Record any change that was made during production and the quantity by design.
When inventory reaches the reorder point, send the archive and clearly identify what remains unchanged. Do not assume that “same as last time” is enough if the buyer cannot provide the previous order reference. For small test quantities or phased programs, review the options discussed in the no-minimum custom pins guide, then compare the unit economics and schedule with a standard bulk reorder.
RFQ checklist for a date-sensitive order
- Final artwork file and actual finished dimensions
- Process, plating, colors, backing, and packaging
- Total quantity, quantity per design, and acceptable overrun or underrun policy
- Delivery address and consignee phone number
- Required in-hand date and actual event or launch date
- Need for a physical sample or photo approval
- Inspection, labeling, barcode, or carton-mark requirements
- Preferred shipping method and whether split delivery is acceptable
- Name of the person authorized to approve proofs and changes
Frequently asked questions
When does custom pin production time officially begin?
For planning purposes, treat the manufacturing clock as starting only after the supplier has the required payment or purchase authorization, approved artwork, final specifications, quantity, and delivery details. Ask the supplier to confirm the start point in writing.
Can a buyer shorten the timeline without changing the pin?
Often, yes. The buyer can submit complete inputs, consolidate comments, approve proofs quickly, finalize packaging early, and avoid late address changes. These actions remove administrative waiting even when the manufacturing steps remain the same.
How much buffer should an event order include?
There is no single rule, but the plan should include time for transit variation, customs, receiving, counting, and internal distribution. Higher-value events, multi-country deliveries, and custom packaging justify more buffer than a local reorder with flexible use dates.
Final takeaway
A dependable custom pin production timeline is built from approved decisions, not from the event date alone. Define the product, control proofing, decide whether a sample is necessary, allow time for inspection and packaging, and keep shipping separate from manufacturing. When every owner knows the next approval deadline, the project becomes easier to quote, easier to manage, and far less dependent on last-minute rushing.
Entradas relacionadas