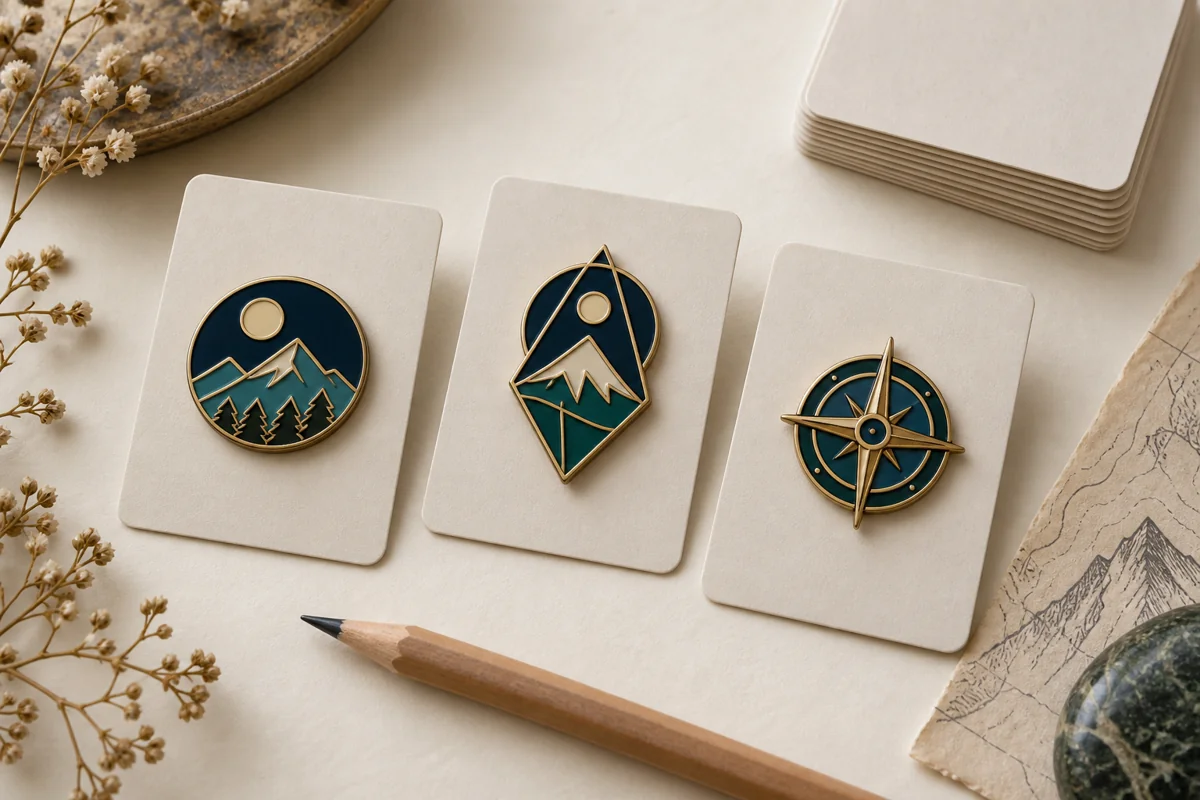




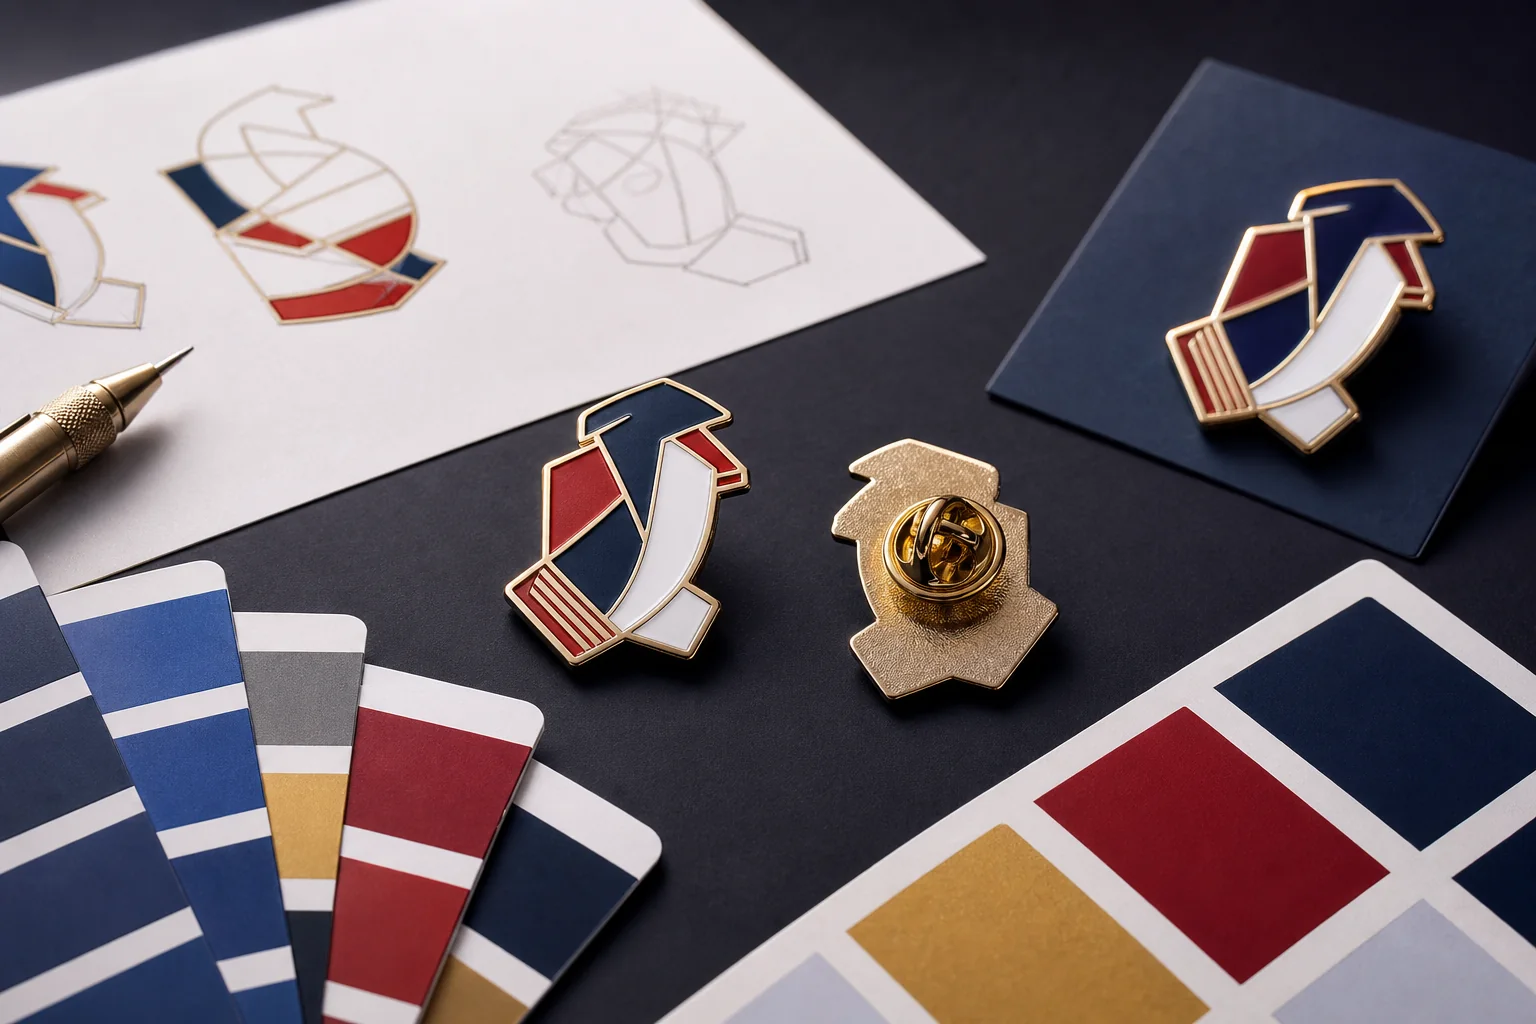
An artwork proof is the quiet checkpoint that decides whether a pin order moves smoothly or becomes a chain of small corrections. For many buyers, the proof looks like a polished drawing, so it is easy to approve it too quickly. But a proof for Custom Pins is not only a design preview. It is a production instruction sheet.
That difference matters. A logo may look perfect on a screen while still being difficult to produce in metal and enamel. Thin strokes may fill in. Tiny lettering may blur. A pin that sits nicely in a mockup may rotate on a jacket if the post placement is wrong. The proof is the moment to catch those issues before the mold is made.
This guide gives brand teams, event planners, school buyers, distributors, and purchasing managers a practical way to review a Custom Pins proof before production starts.
Start With the Purpose of the Pin
Before reviewing the details, confirm what the pin needs to do. A retail collectible, an employee recognition piece, a sports trading pin, and a conference giveaway do not need the same design priorities.
If the pin will be sold, the artwork should feel collectible and clear from a short viewing distance. If it will be worn by staff, legibility and durability may matter more than complex illustration. If the pin will be traded at a youth sports event, team name, year, mascot, and color identity should be instantly recognizable.
When ordering Custom Pins, write the purpose directly into the proof feedback. A good manufacturer can often suggest production adjustments when they understand how the pins will be used.
Check the Finished Size, Not Just the Mockup
One of the most common proof review mistakes is judging the artwork while it is enlarged on a screen. A one-inch pin shown at four inches wide can make tiny details look more readable than they will be in real life.
Print the proof at actual size or zoom out until the design appears close to its finished dimensions. Then ask a simple question: can a person understand the design in two seconds? If the answer is no, the pin may need fewer details, stronger borders, or a slightly larger size.
For B2B orders, size also affects cost, weight, packaging, and wearability. A larger pin can carry more detail, but it may need two posts to stay straight. A smaller pin can be elegant and affordable, but it needs a simpler layout.
Review Line Thickness and Enamel Areas
Custom enamel pins are not printed stickers. The metal lines separate color areas and give the pin its structure. If a line is too thin, it may not hold shape. If an enamel area is too narrow, it may be difficult to fill cleanly.
During proof review, look for these risk points:
- Small letters inside narrow spaces
- Thin outlines around complex icons
- Very small gaps between enamel colors
- Detailed facial features, feathers, leaves, or mascot textures
- Long slogans squeezed into a compact shape
If the design contains important text, avoid forcing it into a tiny area. Sometimes the better choice is to simplify the pin and place the longer message on a backer card.
Confirm Color References Before Approval
Color is one of the easiest things to misunderstand. A blue shown on a laptop screen may not match the same blue on a phone. If the pin represents a brand, school, sports club, or corporate identity, Pantone references are useful.
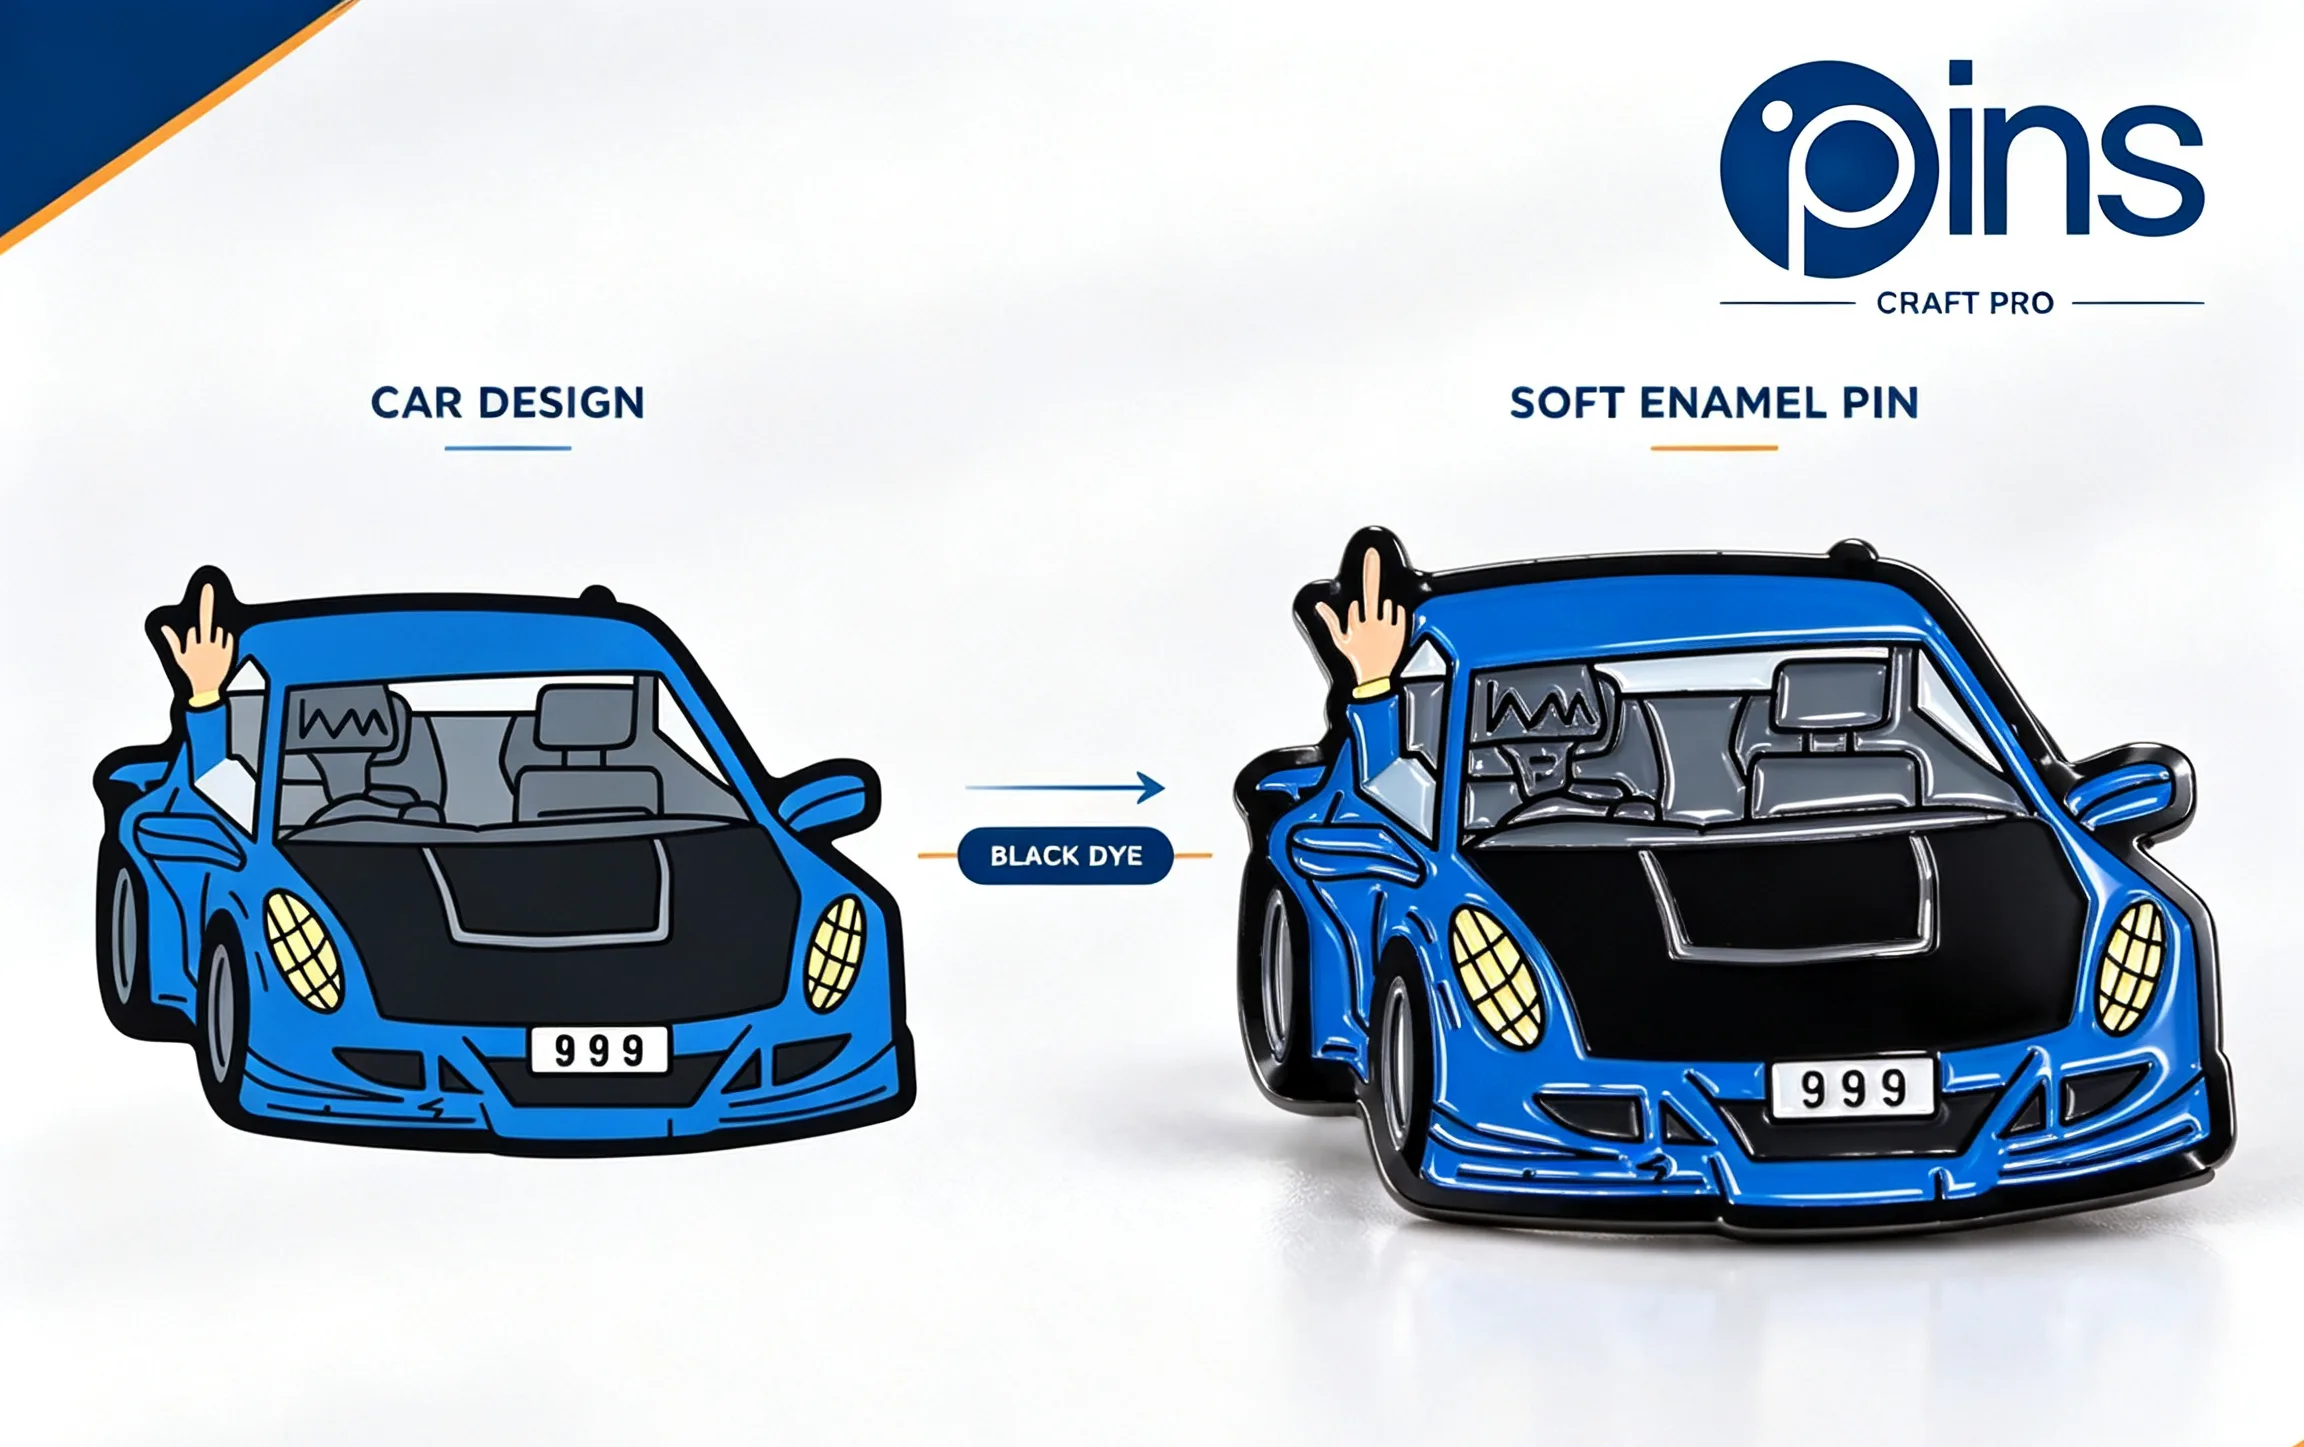
For soft enamel pins, color contrast can create a bold tactile look because the enamel sits slightly recessed below the metal lines. For hard enamel pins, the polished surface feels smoother and more refined. In both cases, the proof should make color placement clear before production begins.
Do Not Skip Plating and Finish Details
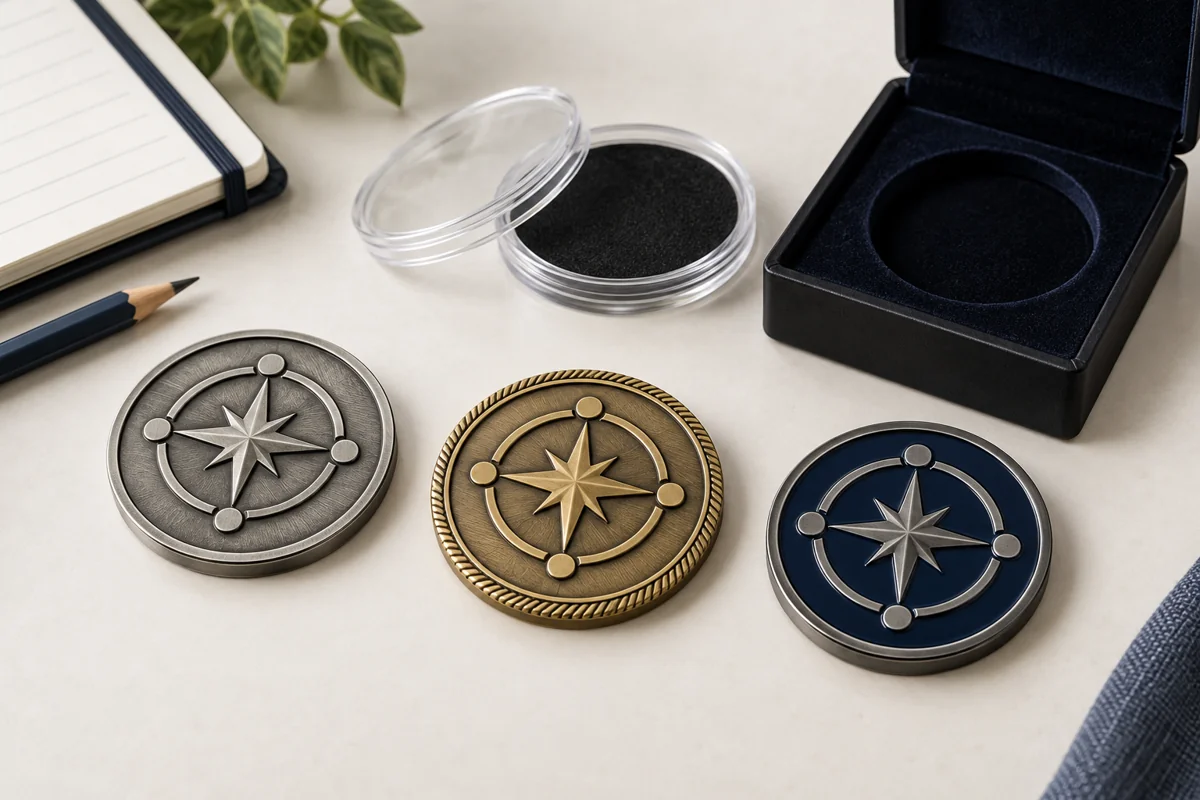
Metal finish changes the mood of a pin. Gold can feel warm and ceremonial. Nickel can look clean and modern. Black nickel can make bright enamel colors pop. Antique brass or antique silver can give a heritage or commemorative feeling.
The proof should identify the plating choice clearly. If the artwork uses negative space, cutouts, recessed metal, glitter enamel, translucent enamel, glow enamel, or printed details, those effects should be labeled. Do not assume that a visual mockup automatically communicates every production method.
Inspect the Back Side and Attachment
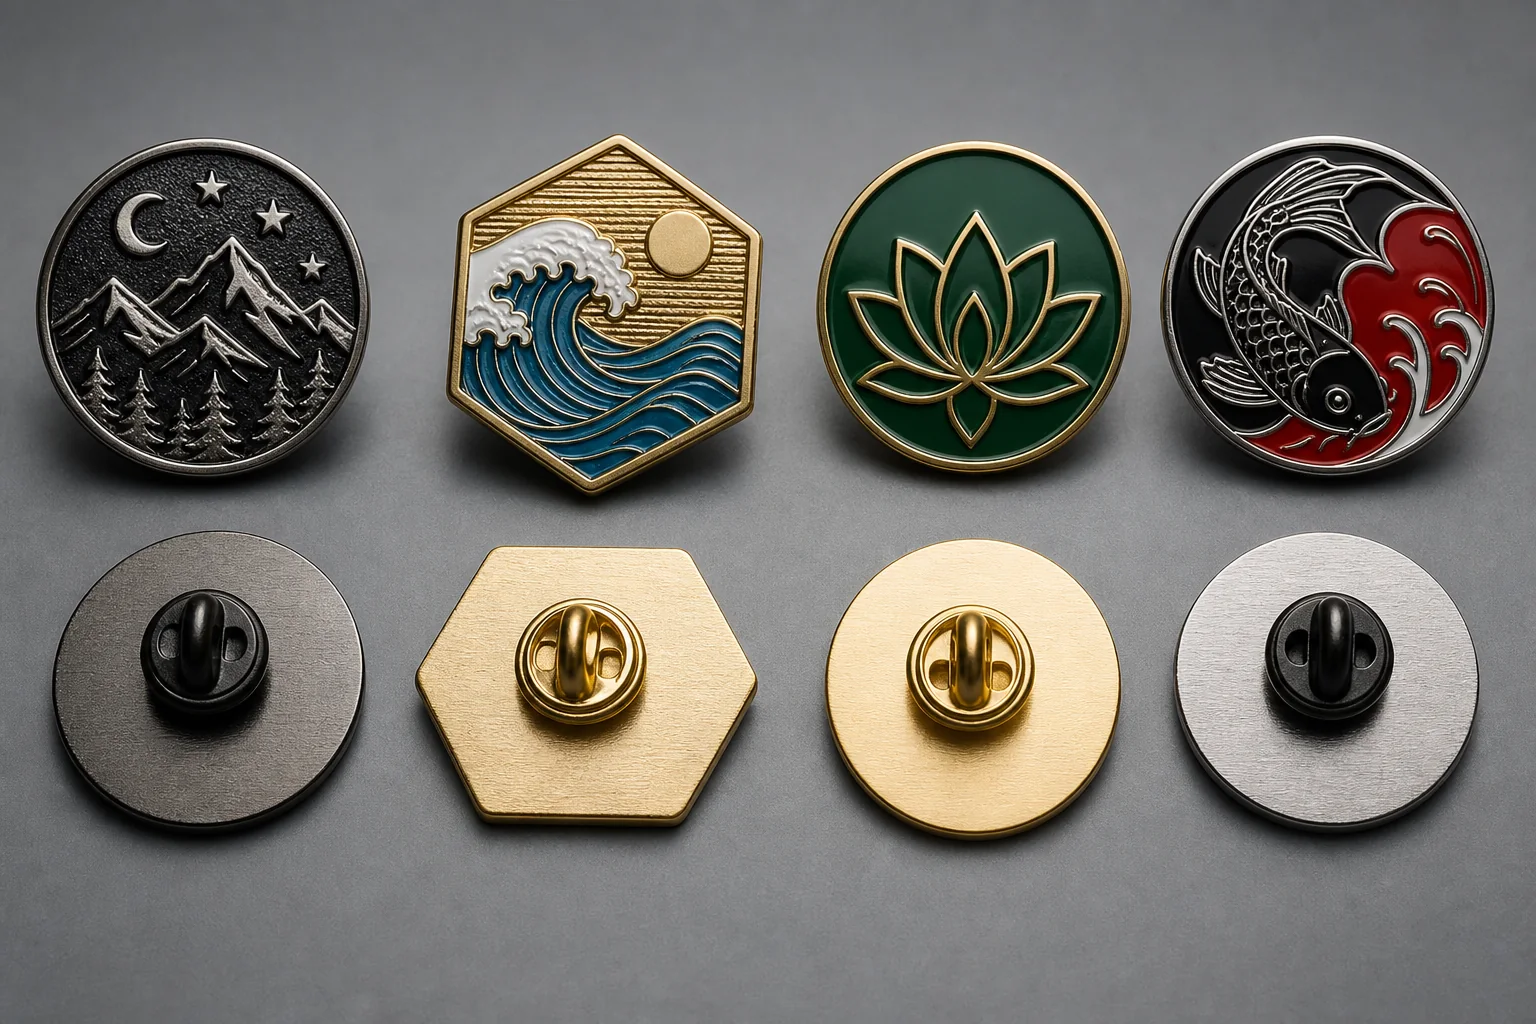
Buyers often focus on the front of the pin, but the back decides how the product behaves when worn or displayed. A small lapel pin may only need one post. A wider design, especially a horizontal logo or badge, may need two posts to prevent rotation.
Ask these questions before approving the proof:
- Where is the post placed?
- Does the pin need one post or two?
- Is the backing type listed: butterfly clutch, rubber clutch, magnet, safety pin, or another option?
- Will the pin sit straight on a garment, lanyard, hat, or backer card?
- Is a backstamp or logo required on the reverse side?
These details are small, but they affect how the finished Custom Pins feel in the hand and perform in daily use.
Make Packaging Part of the Proof Review
If the pins will be sold, gifted, or distributed at an event, packaging should be reviewed with the artwork. A pin mounted on a printed backer card needs correct post placement. A retail card may need barcode space, QR code placement, collection name, or a short brand story. A corporate gift may need a cleaner card or small box.
Packaging is not decoration after the fact. It is part of the buyer experience. When the proof shows only the pin, ask whether a packaging proof will follow.
Use a Clear Approval Comment Instead of a Vague Yes
When the proof is ready, leave a precise approval note. For example: “Approved for production at 1.25 inches, gold plating, hard enamel, two posts, rubber clutches, and individual backer cards.” That sentence protects both the buyer and the manufacturer.
If changes are needed, list them in order. Avoid general comments such as “make it better” or “adjust colors.” Clear feedback reduces revision loops and helps the factory update the proof accurately.
Final Takeaway
A proof is not just a pretty picture. It is the last low-cost moment to catch production issues before the order becomes physical. The best buyers review Custom Pins with both creative and practical eyes: size, clarity, color, metal finish, backing, packaging, and use case.
When the proof is reviewed carefully, production becomes less stressful. The finished pins are more likely to match the design intent, the brand standard, and the real-world way people will wear or collect them.