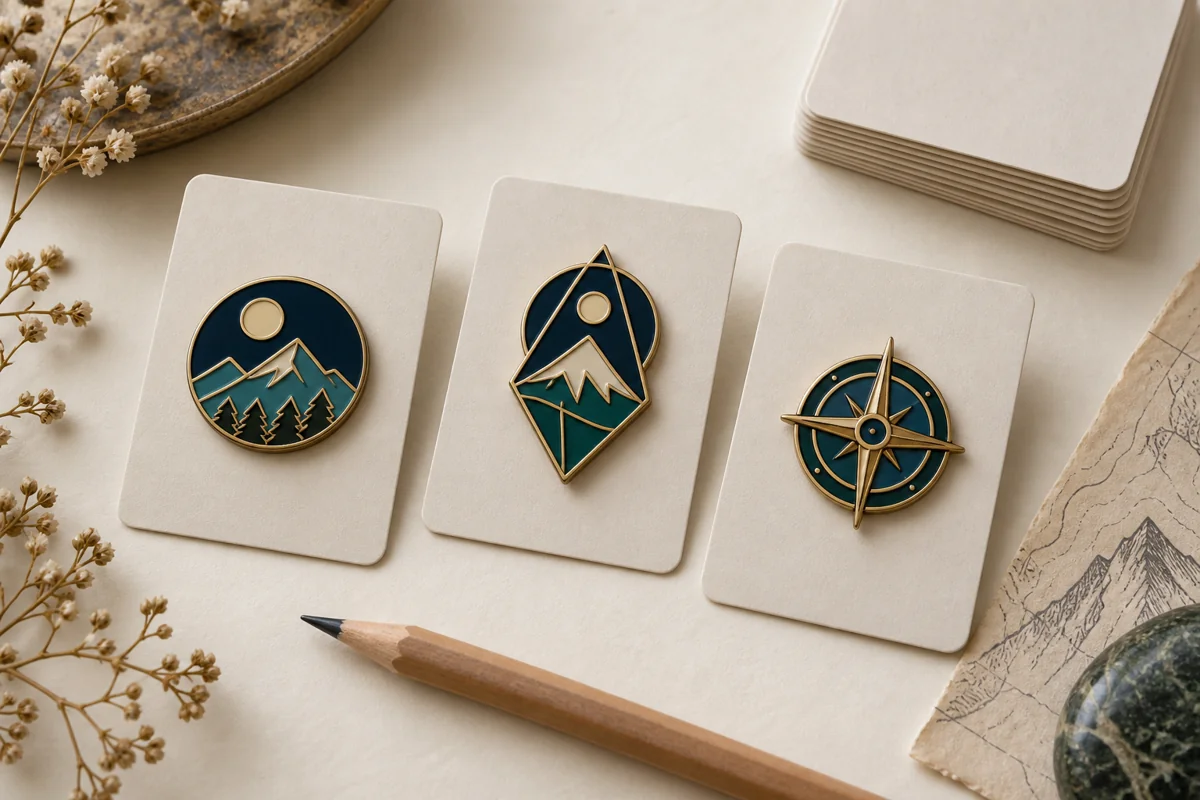






Enamel pin thickness is easy to overlook because most artwork proofs are viewed from the front. Yet the side profile changes how a pin feels in the hand, how much it weighs on fabric, how rigid a wide shape is, and whether the backing and packaging feel properly matched. A pin that looks right on screen can still feel too light, too heavy, or awkward once it becomes a physical object.
There is no single thickness that is automatically best for every custom pin. A compact service pin, a 1.5-inch character design, and a large trading pin do different jobs. The sensible choice comes from reviewing thickness together with finished width and height, base metal, production method, post layout, packaging, quantity, and budget.
This guide explains the common planning range from about 1.2 to 2 mm and beyond. Treat those figures as comparison points, not universal factory limits. Available gauges and tolerances vary by material and process, so the final specification should be confirmed on the quote and artwork proof before production.
Quick answer: what thickness should an enamel pin be?
For many everyday lapel pins, 1.2 to 1.5 mm is a practical place to begin the discussion. Medium or larger designs that need a more substantial profile may move toward 1.8 mm. A 2 mm or thicker body can suit an oversized, sculptural, or presentation-focused piece, but the extra metal also changes weight, cost, post leverage, and packaging.
| Planning thickness | Often considered for | Main advantage | Review carefully |
|---|---|---|---|
| About 1.2 mm | Small, simple pins and lightweight programs | Low-profile and efficient | Rigidity on wide shapes and the desired perceived value |
| About 1.5 mm | General-purpose logo, merch, club, and event pins | Balanced feel for many designs | Overall size, post position, and packaging clearance |
| About 1.8 mm | Medium-to-large pins or projects seeking more presence | More substantial edge and hand feel | Garment comfort, clutch choice, and shipping weight |
| About 2 mm or more | Large, premium, 3D, or display-led concepts | Strong visual and tactile profile | Process feasibility, weight, hardware, unit cost, and case depth |
The table is a briefing tool rather than a substitute for production advice. If two gauges are feasible, ask the supplier to show both profiles at actual scale and explain the cost and weight difference for your exact artwork.
What enamel pin thickness actually measures
Thickness normally refers to the body of the pin when it is viewed from the side. It should not be confused with the pin post, clutch, raised border, or the highest point of a 3D relief. Those features can make the total assembled product much deeper than the nominal metal body.
This distinction matters when comparing quotations. One supplier may list a base-metal gauge, while another may describe the approximate finished body after the surface treatment. Plating and enamel affect the finished surface, but they should not be used to hide an unclear base specification. Ask what the stated measurement covers and what production tolerance applies.
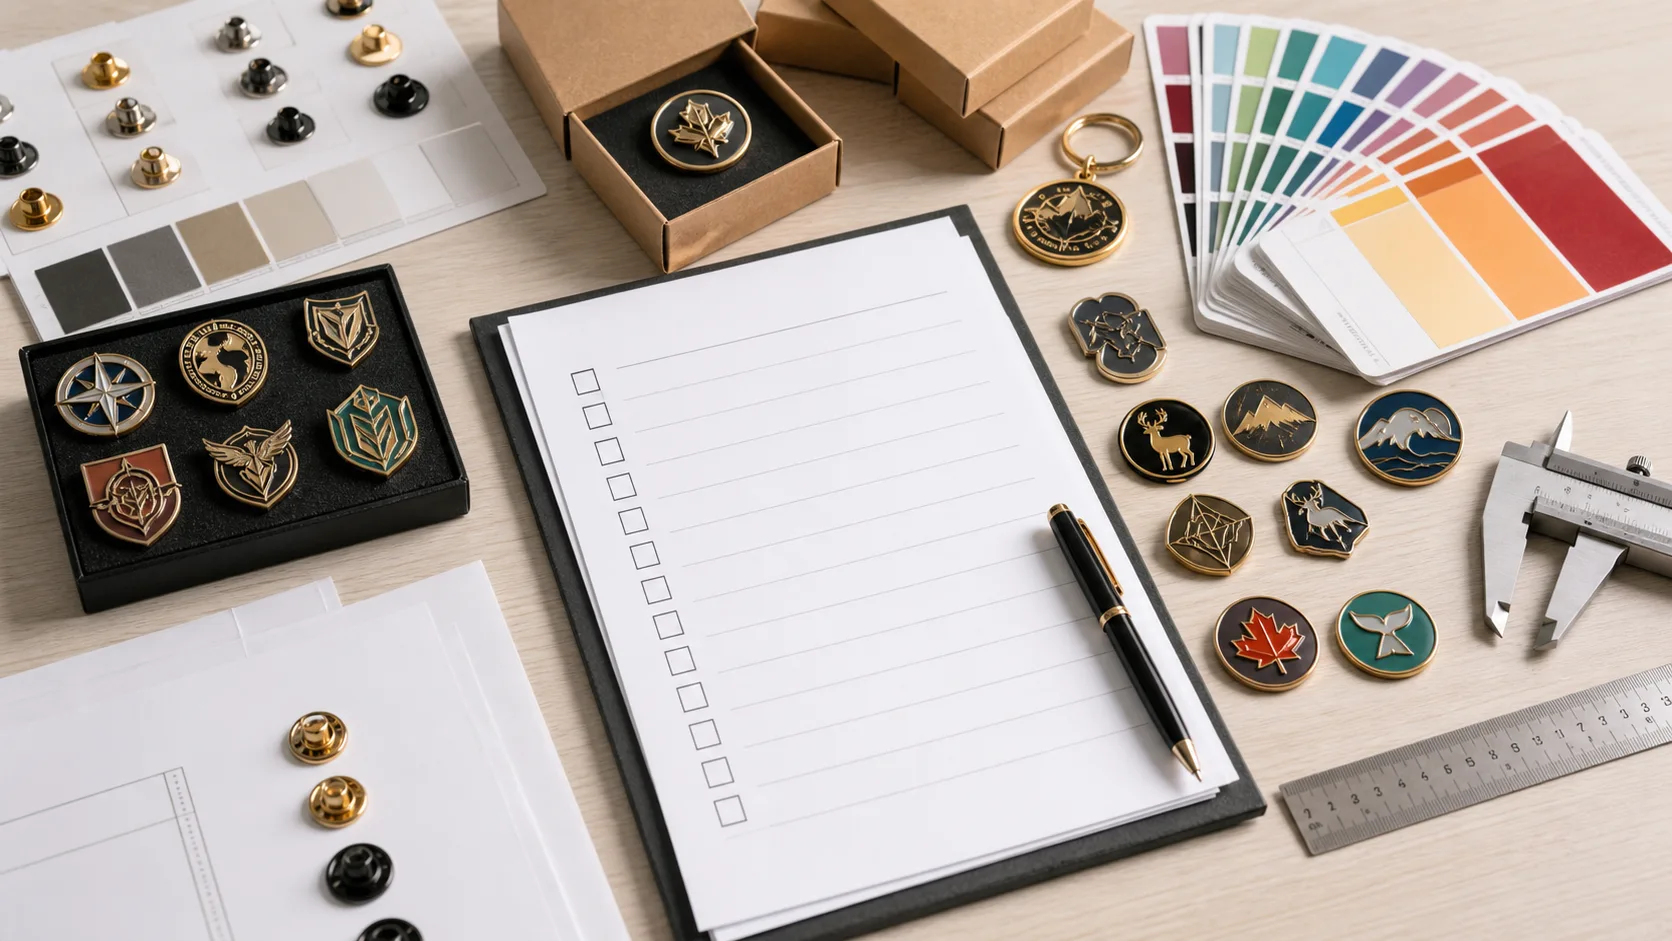
A complete proof should show the front, back, finished width and height, thickness, post count and position, clutch type, plating, and any raised or recessed areas. The custom pins specification sheet guide explains how to keep those decisions in one approval record.
Why thickness changes the finished pin
Rigidity and edge feel
A thicker body generally feels more substantial and can offer greater resistance to flex, but shape matters as much as the number. A compact circle behaves differently from a long, narrow wordmark. Cut-outs, thin bridges, sharp projections, and large unsupported areas can create weak points even when the main body is relatively thick.
Do not use thickness to rescue a fragile outline without reviewing the geometry. Widening a narrow connection, simplifying a cut-out, or changing the overall proportions may be the better solution. The factory should assess the complete silhouette rather than approving a gauge in isolation.
Weight and wearability
More thickness means more material, all else being equal. On a backing card or display board, the extra weight may be welcome. On a soft shirt, cap, or thin lapel, it may pull the fabric forward. Larger dimensions amplify that effect because both the face area and the depth contribute to the amount of metal.
The right question is therefore not “Does thicker mean better?” It is “Does this profile suit where the pin will live?” A subtle employee-service pin and a collectible sold as a premium object should not be judged by the same standard.
Perceived value
Buyers often associate a clean edge, balanced weight, polished plating, and secure backing with quality. Thickness contributes to that impression, but it is only one part of it. A heavy pin with crowded artwork, rough polishing, or an unstable post can feel less considered than a thinner pin with excellent proportions and finishing.
Spend the specification where the recipient can notice it. Sometimes the better upgrade is a second post, a stronger backing card, better color control, or improved packaging rather than another fraction of a millimeter.
How common thickness choices compare
About 1.2 mm: light and low-profile
This range can work for compact shapes, simple marks, short-term event programs, or orders where a lightweight result is intentional. It may also help keep a small formal lapel pin discreet. The artwork still needs enough metal around edges and openings, and wide shapes should be reviewed for rigidity.
Choose this direction because it fits the use case, not simply because it may reduce material. If the pin is meant to feel like premium merchandise, compare a physical sample or side-profile rendering before approval.
About 1.5 mm: a balanced starting point
For many custom enamel pin projects, 1.5 mm is a useful comparison point because it can balance hand feel, wearability, and production efficiency. It can suit logo pins, club pins, creator merchandise, recognition programs, and many event designs.
It is not a default that removes the need for review. A long pin may still need more support, while a very small pin may not benefit from extra depth. Put the actual width, height, shape, and attachment beside the thickness before deciding.
About 1.8 mm: a more substantial profile
A medium or large pin can gain a stronger edge presence at roughly 1.8 mm. That may suit retail products, commemorative designs, or artwork intended to feel more substantial when handled. The difference is easier to notice in the side view than in a flat front mock-up.
Check how the added mass interacts with post placement. A wide pin with one centered post can still rotate, while a top-heavy shape can lean away from fabric. Hardware and geometry must be reviewed together.
About 2 mm and above: special-purpose depth
Thicker bodies are often considered for oversized statement pins, sculpted relief, display pieces, or products where depth is part of the design language. This is a specification choice, not a universal premium upgrade. It can affect tooling, polishing, plating, cost, production time, packaging depth, and freight weight.
Ask whether the design needs a thicker base, deeper relief, layered construction, or simply a stronger visual border. Those approaches do not produce the same result and may use different manufacturing processes.
Thickness and pin size must be chosen together
A 1-inch round pin and a 2-inch irregular pin can share the same nominal thickness but feel completely different. The larger piece has more area and may exert more leverage on the post. Conversely, making a tiny pin unusually thick can create a blocky profile without improving the front artwork.
Start with the longest dimension and the real use case. The enamel pin size guide compares dimensions from 0.75 to 2 inches and explains how to print artwork at 100% scale. Once the front footprint is sensible, compare one or two body gauges rather than changing size and thickness at the same time.
A simple decision sequence is:
- Choose a size range that preserves the essential artwork.
- Confirm the shape has no fragile bridges or projections.
- Select the lightest profile that still gives the intended feel and rigidity.
- Review the assembled pin with its posts, clutches, and backing card.
- Compare the full landed quote before approving an upgrade.
Match the profile to the production method
Soft enamel pins
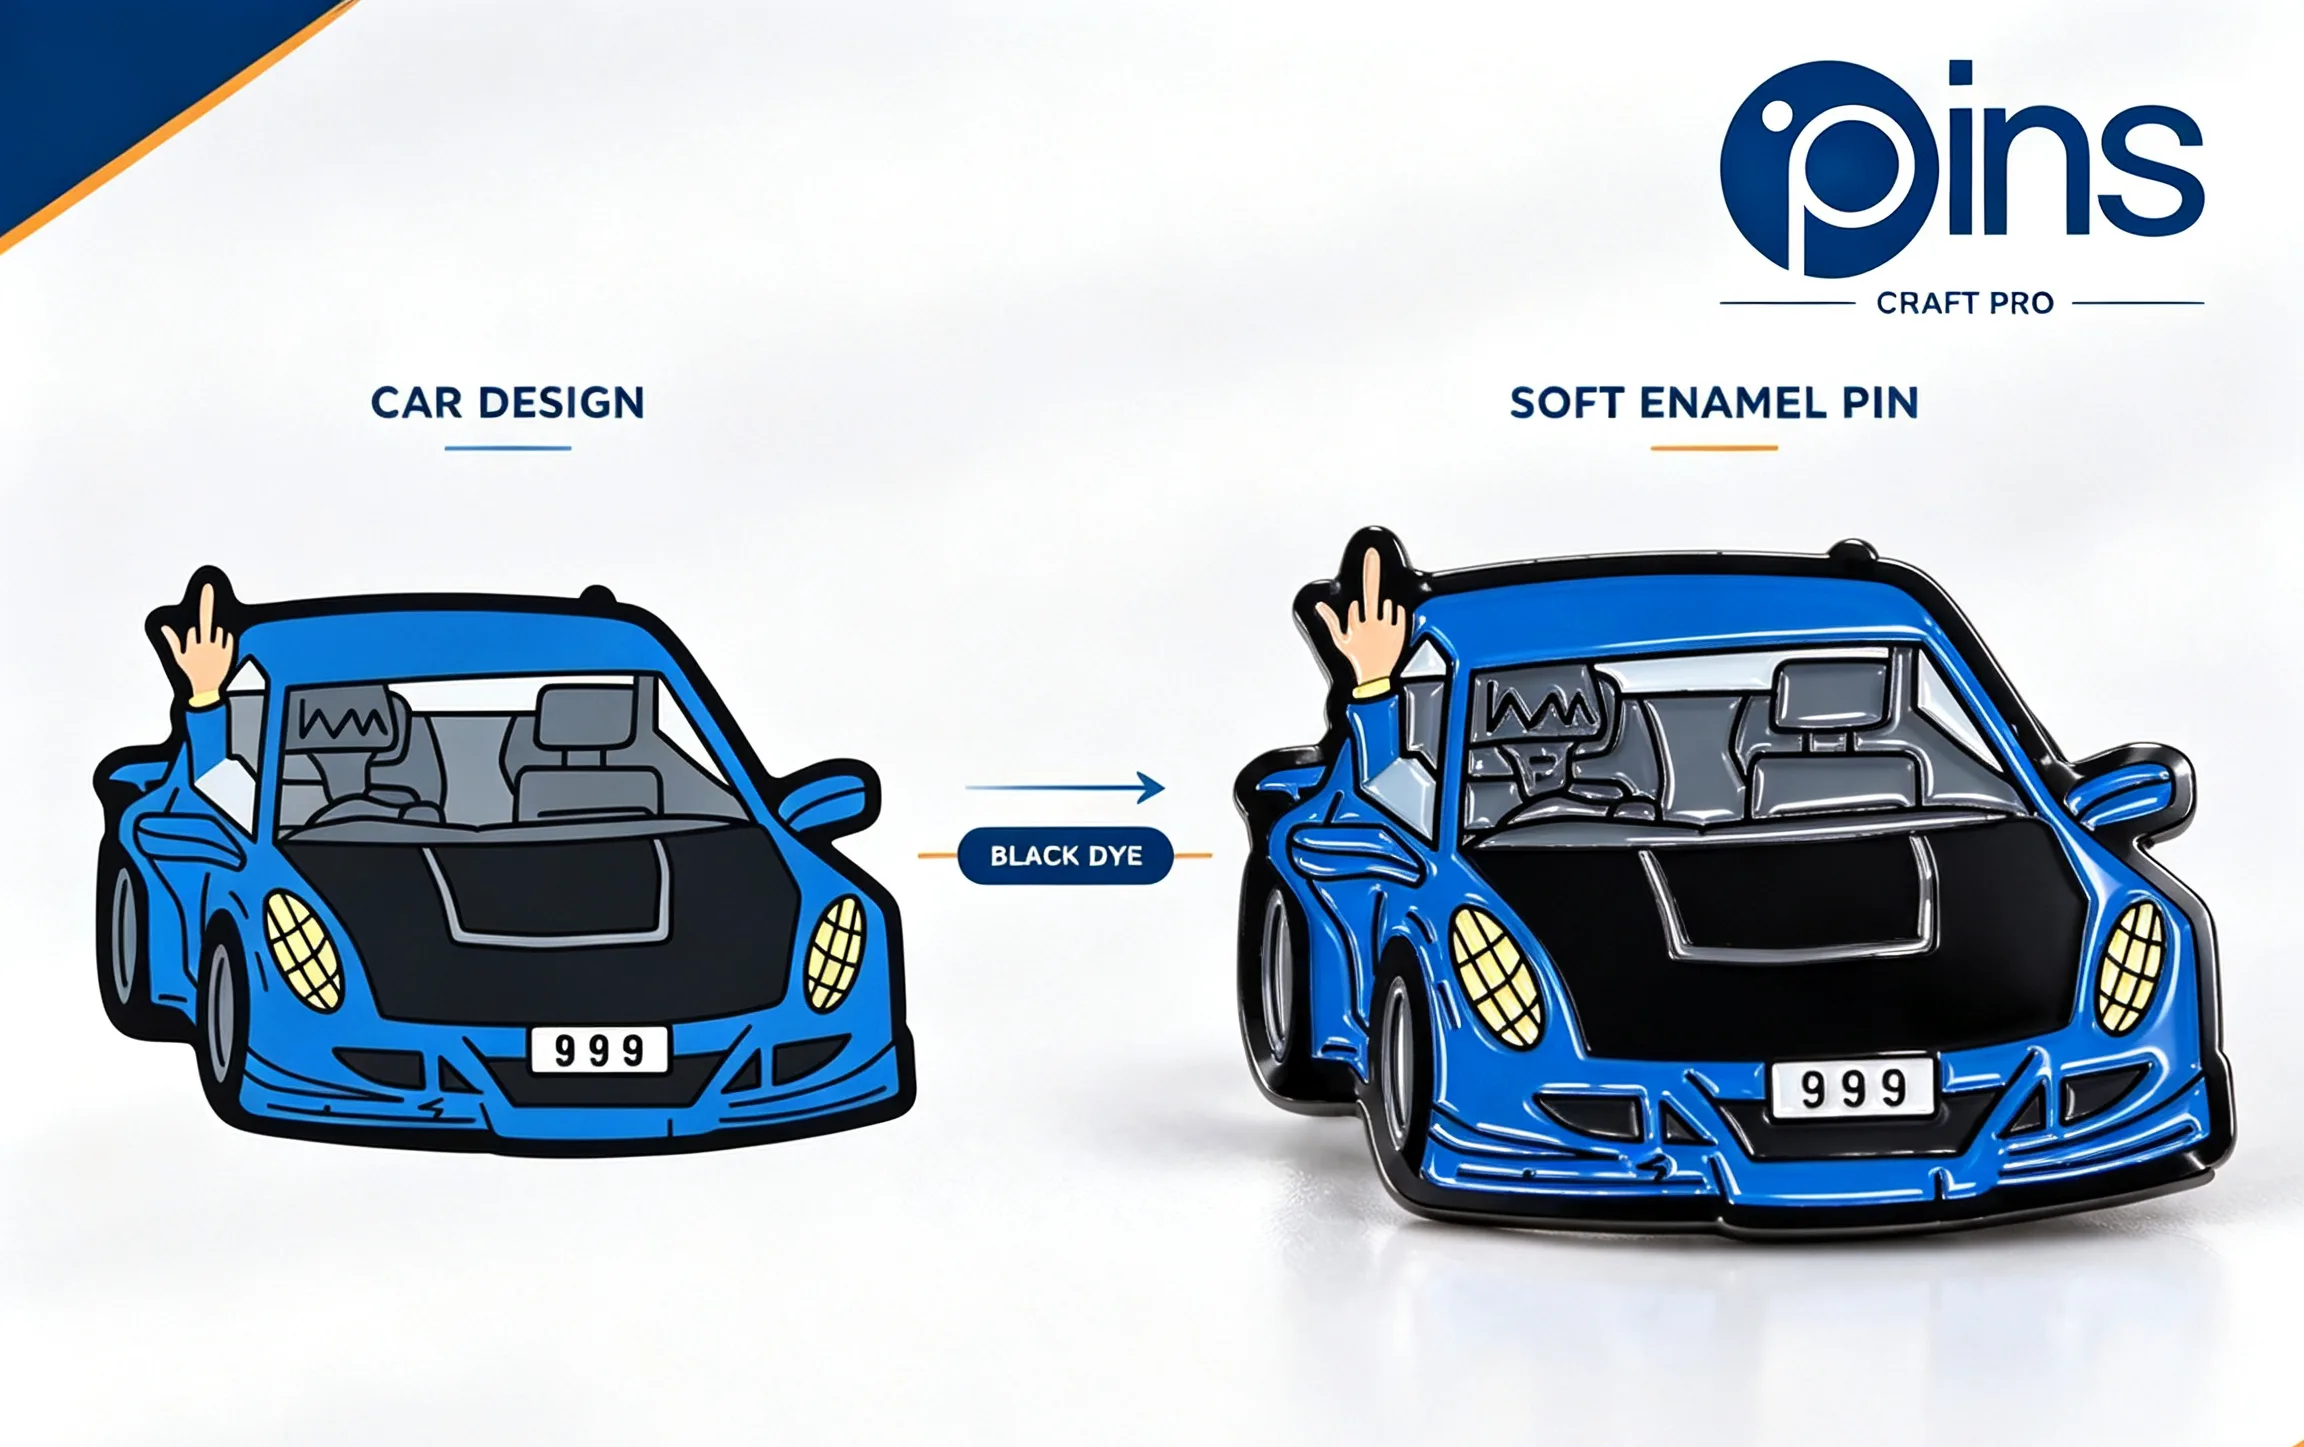
Soft enamel leaves metal lines raised above the recessed color areas, creating a tactile front. The visible texture comes from the relationship between metal borders and enamel, not simply from making the entire body thicker. A deeper-looking face and a thicker base are separate decisions.
Hard enamel pins
Hard enamel is polished to a smoother, more level surface. The finished pin can feel sleek at a moderate body thickness when the outline and plating are well executed. Compare hard enamel and soft enamel before using thickness as the main way to create a premium impression.
Die-struck and uncolored pins
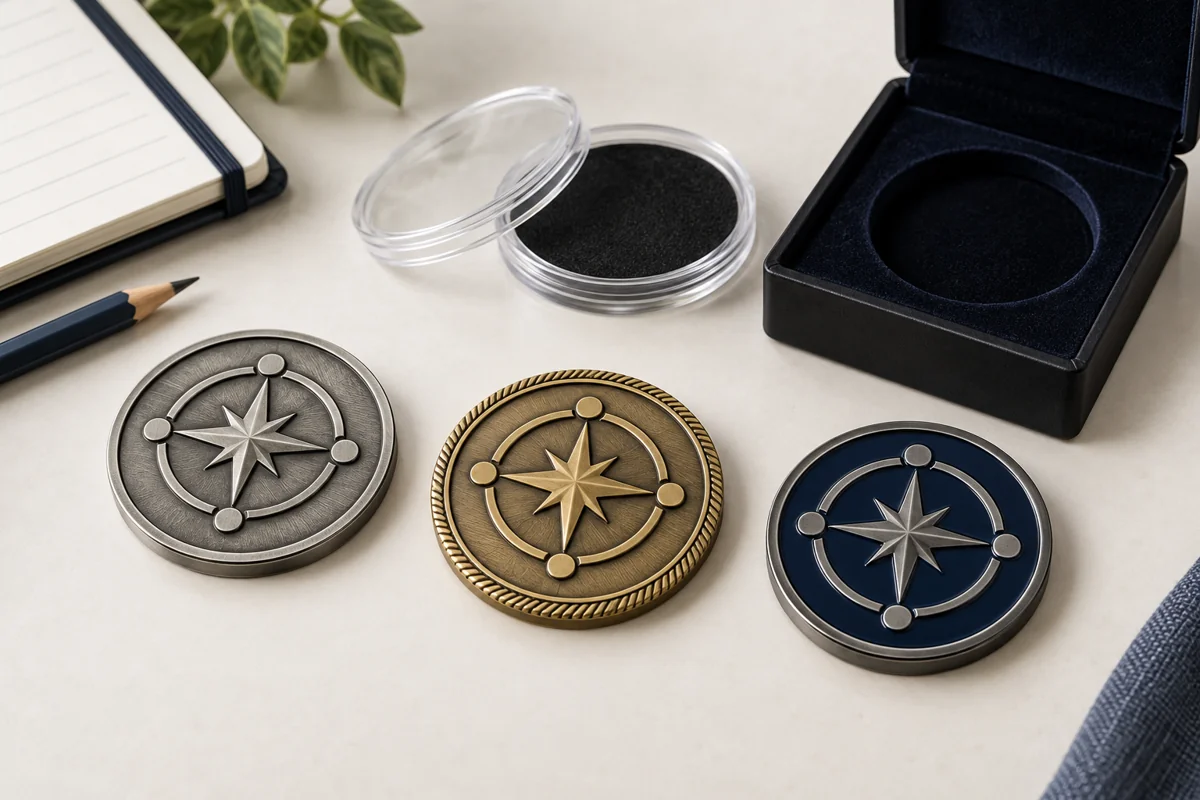
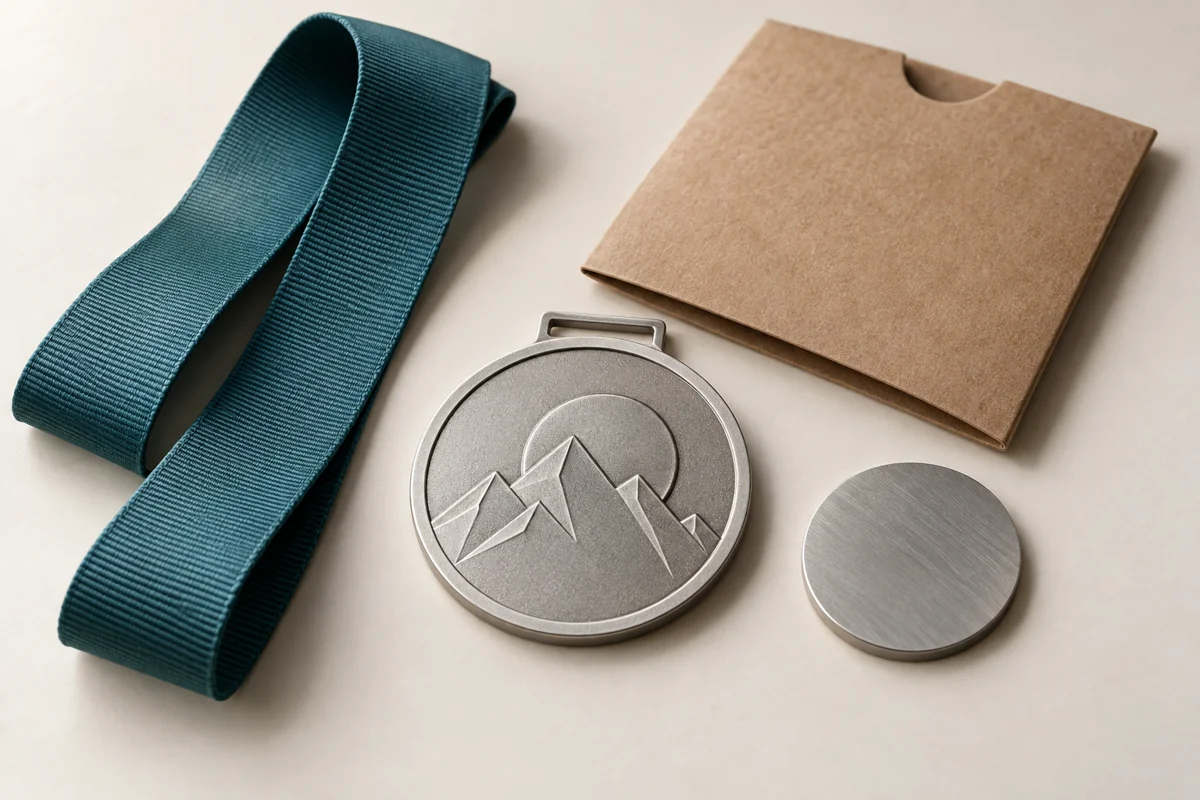
Without color fields taking visual attention, the metal relief, texture, and edge become more prominent. A deeper relief may matter more than a thicker flat base. Ask the proof to distinguish raised metal, recessed texture, and total body thickness.
Printed and 3D pins
Printed pins can carry fine visual information without building every detail from metal borders. Three-dimensional pins, by contrast, may use sculpted height to create form. In either case, request a side view because the highest point, base body, and attachment depth can differ.
Post layout matters as much as thickness
A thicker pin is not automatically a more stable pin. Stability depends on the center of mass, the shape, where the posts sit, the fabric, and the clutch. A wide horizontal design may rotate around a single post. A tall shape can lean if the post is too low. Two well-positioned posts often control orientation better than one heavier body.
Review the back as deliberately as the front:
- Mark every post on the artwork proof.
- Check that posts avoid thin or hollow parts of the design.
- Confirm whether the wearer needs rubber, butterfly, deluxe, locking, magnetic, or another backing.
- Test the assembled depth if the pin will sit in a fitted box or card slot.
- For a wide or top-heavy shape, ask whether two posts are more useful than extra body thickness.
The broader pin backings and packaging guide can help match the attachment to the audience and distribution setting.
Do not forget packaging and shipping
Thickness changes more than the object itself. A deeper pin plus a clutch needs clearance behind a backing card. A fitted presentation case needs enough interior depth. Bulk-packed pins should be separated so posts and edges do not scratch adjacent pieces. Retail cards should remain flat and stable when hung.
For high-volume programs, small changes in metal and package dimensions can accumulate in carton weight. That does not mean the thinnest option is always cheaper overall; damaged cards, sagging displays, or an underwhelming product can erase the saving. Ask for the complete unit specification and packed-carton details when freight matters.
A practical approval workflow
1. Define the job
State whether the pin is for daily wear, formal recognition, retail merchandise, trading, a backpack, or presentation in a box. Include the audience and fabric or display surface when known.
2. Lock the front dimensions
Review width and height at actual size. Simplify text and gaps that do not survive. The artwork proof checklist provides a structured way to examine line work, color, plating, the back, and packaging.
3. Compare side profiles
Ask for one recommended thickness and, when the decision is close, one alternative. View both at the same scale. A side-profile sketch or reference sample is more useful than adjectives such as “standard” or “premium.”
4. Review the complete assembly
Check posts, clutches, backing card, bag, case, and shipping method. Approve the pin as a finished product rather than a front image.
5. Record the approved specification
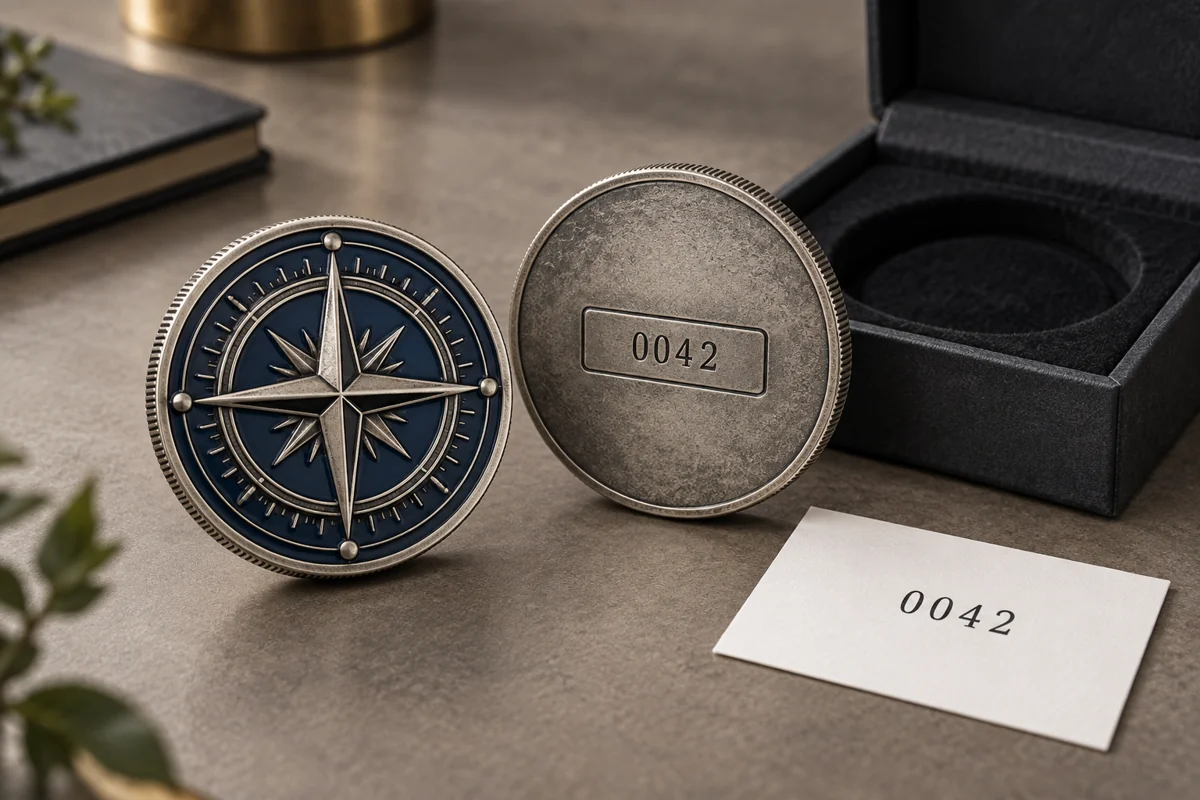
Put thickness and the measurement convention on the final proof, purchase order, or specification sheet. If the order will be repeated later, that record helps prevent an unnoticed change between batches.
Common thickness mistakes
- Calling a pin “standard thickness” without a number. Record the gauge and what it measures.
- Assuming heavier always means higher quality. Artwork clarity, plating, polish, and attachment quality also shape perceived value.
- Changing thickness after approval without checking the quote. Material, tooling, packing, and freight may change.
- Ignoring shape. A thin bridge or long projection can be vulnerable even on a substantial body.
- Approving only the front view. Request a back and side view for any project where depth matters.
- Using thickness to solve rotation. Better post placement may be the real fix.
- Forgetting package clearance. The body, post, and clutch create the assembled depth.
What to include in a thickness request
A useful quote request gives the production team enough context to recommend a profile instead of guessing. Include:
- Vector artwork or the clearest file available
- Finished width and height
- Preferred process, or permission for the factory to recommend one
- Target thickness and one comparison option if undecided
- Base metal and plating preference
- Post count, positions, and clutch type
- Backing card, bag, box, or other packaging
- Quantity, destination, and required delivery date
- The place the pin will be worn, sold, traded, or displayed
If you are still resolving the artwork, begin with the custom pins design guide. It is easier to choose thickness after the silhouette, dimensions, and essential details are clear.
Enamel pin thickness FAQ
Is 1.5 mm a standard enamel pin thickness?
It is a common planning point for many projects, but “standard” varies by supplier, material, and process. Confirm the exact body thickness and tolerance on your quote and proof.
Does a thicker enamel pin last longer?
Thickness can affect rigidity, but durability also depends on shape, base metal, plating, enamel work, post attachment, and how the pin is used. A poorly placed thin bridge can remain vulnerable even when the main body is thicker.
Will a 2 mm pin look better than a 1.5 mm pin?
Not automatically. The difference is mainly in profile, weight, and hand feel. A smaller or formal pin may benefit from a lighter profile, while a larger collectible may suit more depth.
Does thickness include the pin post and clutch?
Usually it describes the pin body, but quotation conventions vary. Ask for body thickness and total assembled depth as separate measurements when packaging clearance matters.
Should a large pin use two posts or thicker metal?
Those choices solve different problems. Thickness affects profile and rigidity; two posts can control rotation and distribute support. A wide or top-heavy design may need both, one, or neither depending on its shape and use.
Can I change thickness after the artwork proof?
Only after the supplier confirms feasibility and updates the specification, price, and any affected construction details. Reapprove the revised proof before production.
Choose the profile with the real product in mind
The best enamel pin thickness is the one that supports the artwork, use case, and presentation without adding unnecessary weight or cost. Begin with a reasonable comparison range, review the side and back rather than only the front, and keep the approved number in the production record.
To compare body gauges for a specific design, send the artwork, finished dimensions, quantity, backing, packaging, destination, and deadline when you request a free custom pin quote. A recommendation based on the complete assembly is more useful than choosing a thickness from a generic list.